
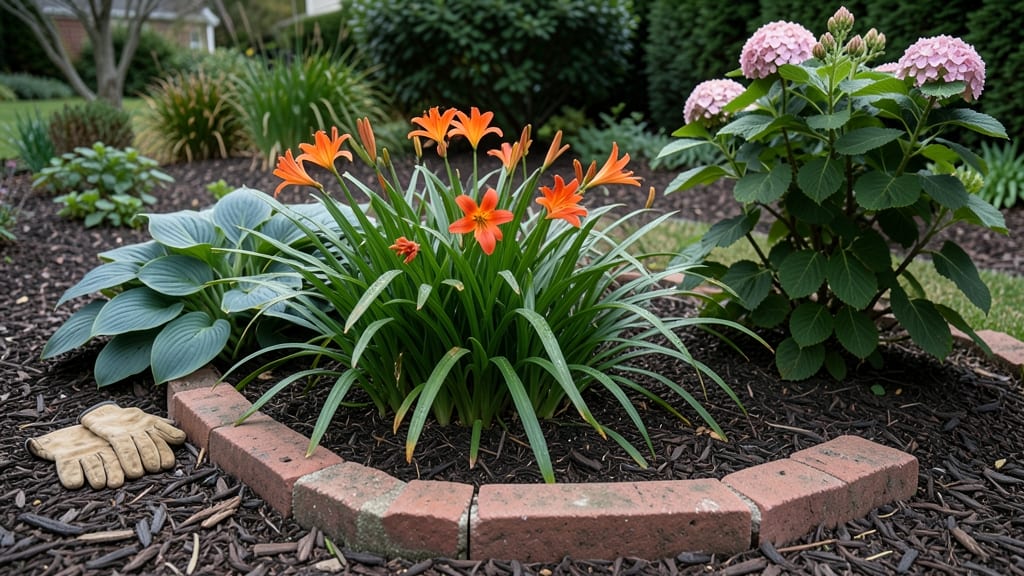
Mound Garden Bed Ideas: 12 Space-Saving Layouts for Small Yards

Tools

Mound Garden Bed Ideas: 12 Space-Saving Layouts for Small Yards

Designing mound garden bed ideas can transform your small yard into a lush, space-saving oasis—ideal for improving drainage, reducing weeds, and adding vertical charm to your outdoor space.

Picture this: a neatly stacked mound where herbs thrive at the top, drought-resistant perennials cascade down the sides, and your favorite veggies grow effortlessly below. No more struggling with compacted soil or battling weeds at ground level—just a low-maintenance, elevated garden that works with your space, not against it.

Whether you’re working with a sloped yard, limited flat ground, or just want to add visual interest, mound beds offer flexible layouts that fit almost anywhere. From tiered spirals to simple rectangular shapes, these designs let you grow more in less space while keeping plants healthier and your back happier.

In this guide, I’ll walk you through 12 creative mound bed ideas, step-by-step building tips, and the best plants to make your elevated garden thrive—no green thumb required.

12 Creative mound garden bed designs for small spaces

Transforming a tiny yard into a lush garden starts with smart design—mound garden beds are the perfect solution. These elevated layouts maximize space, improve drainage, and create stunning visual interest while keeping weeds at bay.

Whether you have a balcony, patio, or small backyard, these 12 unique designs prove that big impact doesn’t require big space.

Mound beds work by piling soil into a raised, sloped structure, allowing roots to spread freely while keeping foliage elevated for better airflow. The best part? You can customize them with wood, bricks, rocks, or even recycled materials to match your style.

Below, I’ll walk you through 12 creative layouts, including circular, spiral, tiered, and asymmetrical designs, plus the best plants to pair with each for a thriving small-space garden.

🌱

Design Name Shape Materials Best Plants Space Needed
Spiral Herb Garden Spiral Cedar logs, compost Basil, thyme, chives 2' diameter
Tiered Vegetable Pyramid Triangular Brick or stone Tomatoes, peppers, lettuce 3' x 3'
Circular Flower Mound Round Paver stones, mulch Marigolds, lavender, cosmos 4' diameter
Asymmetrical Rock Garden Irregular Field stones, gravel Sedum, hens & chicks, ferns 3' x 5'
Wooden Tiered Boxes Rectangular Pressure-treated wood Strawberries, mint, nasturtiums 2' x 4'
Sunburst Mound Radiating Concrete blocks, soil Sunflowers, zinnias, cosmos 5' diameter
Stepping Stone Mound Linear Stepping stones, soil Rosemary, thyme, oregano 2' x 6'
Rainbow Mound Semi-circle Wood chips, mulch Pansies, snapdragons, sweet alyssum 3' diameter
Mini Greenhouse Mound Oval Plastic hoops, fabric Peppers, eggplants, basil 3' x 4'
Zen Garden Mound Square Sand, gravel, rocks Bamboo, moss, ornamental grasses 4' x 4'

How to build a mound garden bed: step-by-step guide

Building a mound garden bed is one of the best ways to transform a small, flat space into a thriving, accessible garden. These elevated beds improve drainage, reduce weeds, and create stunning visual interest while being easier on your back.

Whether you're working with clay soil or limited yard space, mound beds offer a practical and beautiful solution. Let’s break down the process into simple, actionable steps so you can start growing with confidence.

Before you begin, gather your materials: a shovel, garden fork, compost, landscape fabric, and optional edging like rocks or bricks. Choose a location with at least 6 hours of sunlight and good air circulation.

Mound beds work well in areas where traditional in-ground planting is difficult, like slopes or compacted soil. With the right prep, you’ll have a durable, low-maintenance garden feature that lasts for years.

Step-by-Step Guide to Building Your Mound Garden Bed

  1. Step 1: Choose Your Location

    Select a sunny, level spot with easy access to water. Avoid low-lying areas where water pools.

  2. Step 2: Mark the Shape

    Use a garden hose or spray paint to outline your mound’s shape. Common designs include circular, oval, or rectangular.

  3. Step 3: Build the Base

    Remove grass or weeds from the marked area. Add a 2-inch layer of gravel or crushed stone for drainage.

  4. Step 4: Layer Soil and Compost

    Mix topsoil with compost (ratio 2:1) and mound it to a 12-18 inch height. Shape it gently for stability.

  5. Step 5: Add Landscape Fabric

    Lay landscape fabric around the base to prevent weeds from creeping up. Secure it with stakes.

  6. Step 6: Edging (Optional)

    Use bricks, stones, or wood to edge your mound for a polished look. This also helps contain the soil.

  7. Step 7: Plant and Mulch

    Plant your drought-resistant plants and top with mulch to retain moisture and suppress weeds.

One of the biggest advantages of mound beds is their versatility. You can create them in almost any shape—try a spiral design for herbs or a tiered look for flowers. For cost savings, skip store-bought soil amendments and use yard waste like grass clippings or fallen leaves as compost.

Just ensure your soil mix is well-aerated to prevent compaction over time. With these steps, your mound bed will be ready for planting in just a weekend!

Pro tip: If you’re building a mound bed in an area with heavy clay soil, consider adding a layer of sand or perlite to improve drainage further. This is especially helpful for plants like lavender or rosemary, which hate soggy roots.

Once your mound is built, you’ll love how easy it is to tend to your garden—no more bending over for hours! 🌱

After planting, water deeply to help the soil settle around the roots. Avoid walking on the mound until the soil has had time to compact naturally. Over the first few weeks, monitor your plants for signs of stress, like wilting or yellowing leaves, and adjust your watering schedule as needed.

With proper care, your mound garden bed will thrive for years, offering both beauty and functionality to your outdoor space. 🌿

★★★★★4.7(10 reviews)
Categories Tools