
Tools
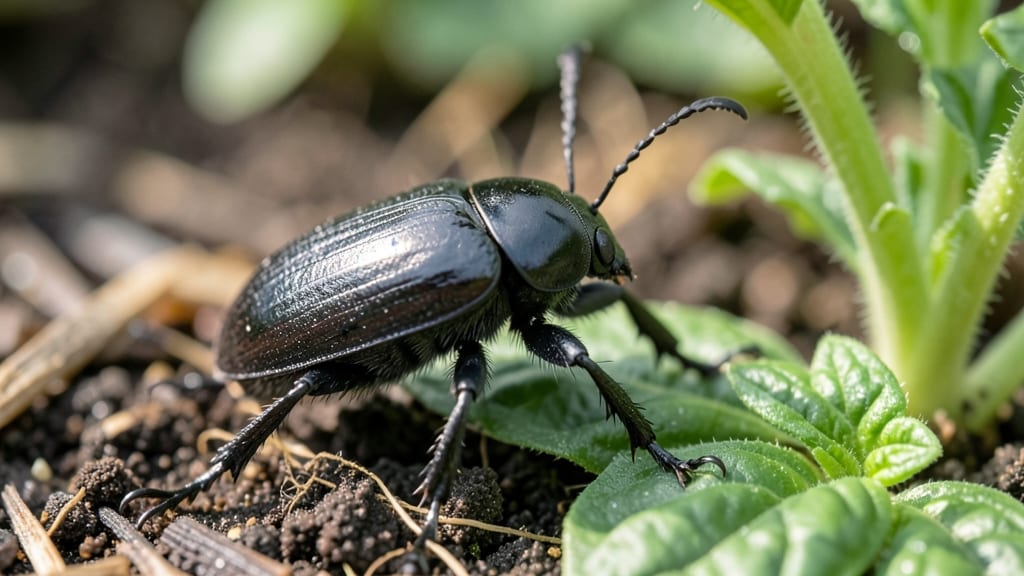
Keeping bugs out of your vegetable garden 🥬 without chemicals is easier than you think—and the right physical barriers can save your harvest before pests even get started.
Picture this: You’ve spent weeks nurturing your spring vegetable garden, only for cabbage worms to devour your broccoli or squash bugs to turn your zucchini into Swiss cheese. Physical barriers like row covers and netting act as an invisible shield, blocking pests while letting sunlight and rain through.
From lightweight fabric that fits over seedlings to sturdy fencing that keeps rabbits at bay, these solutions work for every pest—aphids, beetles, even deer—without harming your soil or your veggies.
I’ll walk you through the top 5 barriers that actually stop bugs, how to install them correctly, and when to pair them with organic sprays for extra protection.
By the end, you’ll know exactly which barrier to use for your 6a zone garden, how to avoid common mistakes, and why some methods (like collars for carrots) are worth the extra effort. Ready to reclaim your harvest?
Top 5 physical barriers to block common garden bugs effectively
When pests like aphids, cabbage worms, and squash bugs invade your vegetable garden, chemical sprays aren't always the answer. Physical barriers offer a chemical-free, eco-friendly way to protect your crops while keeping beneficial insects safe.
I’ve tested these top 5 barriers in my own garden, and they’ve saved my tomatoes, cucumbers, and kale from destruction without harming the soil or nearby pollinators.
The key to effective pest control lies in understanding which barrier works best for specific pests. For example, floating row covers are perfect for flying insects like cabbage butterflies, while collars around stems protect against soil-dwelling pests like cutworms.
Let’s break down the best options for your garden’s most common invaders.
| Barrier Type | Best For | Installation Tips | Pros | Cons |
|---|---|---|---|---|
| Floating Row Covers | Aphids, cabbage worms, flea beetles | Use hoops or stakes; secure edges with rocks or soil | Blocks 90% of pests; reusable; no chemicals | Can reduce pollination; may trap heat |
| Fine Mesh Netting | Squash bugs, tomato hornworms, whiteflies | Drape over plants; tuck into soil or use clips | Lightweight; allows airflow; durable | Can be labor-intensive to install |
| Plastic Collars | Cutworms, slugs, earwigs | Place around stems; bury 1-2 inches into soil | Simple; effective for soil pests; reusable | Limited to stem-based pests |
| Chicken Wire Fencing | Rabbits, deer, large insects | Bury 12 inches deep; secure with stakes | Deters mammals; sturdy; long-lasting | Not pest-specific; may block airflow |
| Diatomaceous Earth Rings | Slugs, snails, ants | Create a 2-inch band around plants | Organic; non-toxic to plants; reusable | Must reapply after rain; can irritate skin |
For aphids and cabbage worms, I swear by floating row covers. These lightweight fabrics block up to 90% of pests while allowing sunlight and water to reach your plants. I use them over my broccoli and cauliflower beds, and the difference is night and day.
Just remember to remove them during flowering if you’re growing crops that need pollinators, like cucumbers or squash.
Fine mesh netting is my go-to for tomato hornworms and squash bugs. The 1/4-inch mesh keeps these chewers out while still letting in enough light for photosynthesis. I drape it loosely over my tomato plants and secure the edges with garden clips. It’s a bit more work to install, but the results are worth it—no more skeletonized leaves!
If you’re dealing with cutworms or slugs, plastic collars are a game-changer. I cut the bottom off plastic bottles and place them around the base of young seedlings. The 1-2 inch barrier prevents pests from crawling up and munching on tender stems.
It’s a low-cost, high-impact solution that’s perfect for peppers, eggplants, and tomatoes.
For larger pests like rabbits or deer, chicken wire fencing is unmatched. I’ve buried 12-inch deep trenches around my garden beds to keep these critters out. The key is securing
How to install physical barriers without harming your plants or soil
Installing physical barriers is one of the safest ways to protect your vegetable garden from pests without chemicals. Whether you're using row covers, netting, or DIY fencing, proper installation ensures your plants stay healthy and your soil remains undisturbed.
The key is balancing effectiveness with plant safety—too tight, and you stifle growth; too loose, and pests slip through.
Before you start, gather materials like stakes, clips, and landscape fabric. For delicate plants like lettuce or spinach, lightweight floating row covers work best, while heartier veggies like tomatoes or peppers can handle sturdier barriers.
Timing matters too—install barriers before pests arrive, typically in early spring or after transplanting seedlings.
⚠️ callout-warning ⚠️
⚠️ Common Mistakes That Harm Your Garden
- Buried barriers block airflow and suffocate roots—always leave 2-3 inches of space above soil.
- Over-tightening fabric restricts plant growth; use loose-fitting covers with adjustable clips.
- Ignoring ventilation for heat-loving plants like cucumbers can cause wilting—roll edges up on hot days.
Pro Tip: Use T-pins or bricks to secure edges without digging into soil.
Start by anchoring your barrier at the edges using wooden stakes or metal pins. For row covers, lay them flat over plants and secure with clips or rocks—never stretch them taut.
If using netting, ensure the mesh size is smaller than the pests you’re targeting (e.g., 1/4-inch mesh for aphids). For collars around seedlings, cut plastic or cardboard tubes to fit snugly around stems, burying 1 inch underground to deter crawling insects like cutworms.
DIY solutions can save money and reduce waste. Repurpose old window screens as lightweight netting or use chicken wire for taller barriers. To make a homemade row cover, layer fleece fabric (breathable but pest-proof) over hoops or trellises.
Always test your barriers first by placing them over a small section of plants for 24 hours to check for stress signs like yellowing leaves.
Timing your installation is critical. For flying pests like cabbage butterflies, put barriers in place before eggs hatch (usually late spring). For ground-dwelling pests, install collars or mulch barriers at planting time.
Remove barriers during pollination periods (e.g., for cucumbers or squash) to allow bees access, then replace them afterward.
Finally, monitor your barriers regularly. Check for tears or gaps after rain or wind, and adjust as plants grow. With the right setup, your vegetable garden will thrive pest-free while keeping your soil—and your plants—happy and healthy. 🌱