
Tools
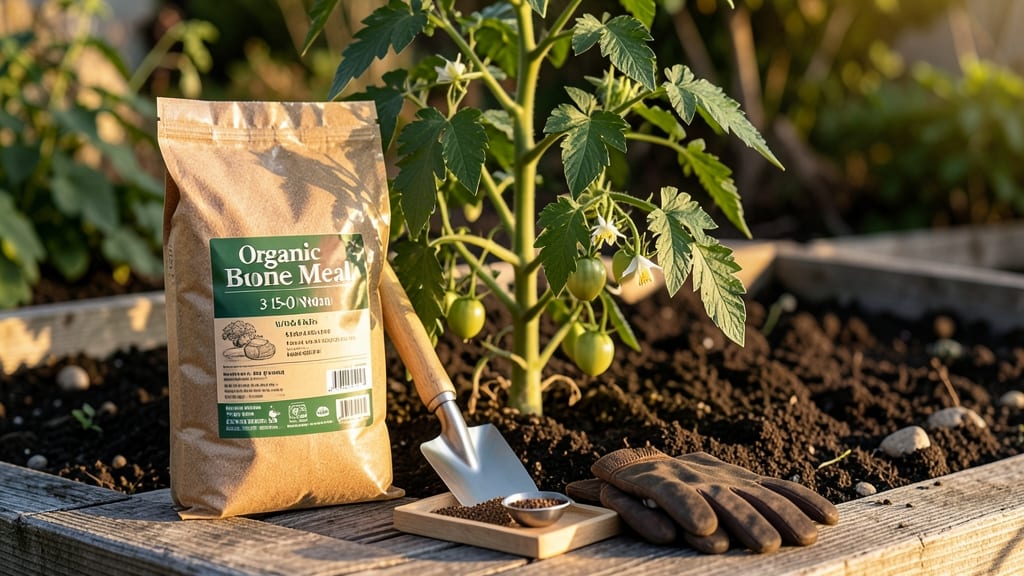
How to use bone meal in the garden can supercharge root growth and blooms in just weeks, but most gardeners get the timing or dosage wrong.
Picture this: you’ve spent hours planting your favorite General Garden Plants 🌱, only to watch them struggle with weak roots or sparse flowers. Bone meal—a phosphorus powerhouse—holds the key to fixing that, but only if you apply it the right way.
This natural fertilizer works best when worked into soil at planting or during early growth stages, giving your tomatoes, roses, and bulbs the phosphorus boost they crave. The trick? Avoid overdoing it—too much can burn roots or lead to lush foliage with no flowers.
Below, I’ll walk you through exactly when to use it, which plants benefit most, and how to mix it for fast, healthy results without the guesswork.
When and how to apply bone meal for fast root and bloom growth
Bone meal is a powerhouse for gardeners looking to boost root development and encourage abundant blooms. Packed with phosphorus (P), it helps plants establish strong roots quickly and produces more flowers and fruits.
The key to success lies in timing and proper application, as overuse can harm your plants instead of helping them.
Unlike nitrogen-heavy fertilizers that promote leafy growth, bone meal targets root systems and flowering phases. This makes it ideal for vegetables like tomatoes and peppers, flowering plants like roses and petunias, and even fruit trees.
However, applying it at the wrong time or in excessive amounts can lead to burnt roots or stunted growth. Let’s dive into the best practices to maximize its benefits.
The best time to apply bone meal is during active root growth phases, which typically aligns with spring planting or early summer. For spring applications, mix it into the soil at planting time to give roots a phosphorus boost from day one.
If you’re planting bulbs or perennials in fall, bone meal helps them establish strong roots before winter dormancy.
Avoid applying bone meal in late summer or fall for annual vegetables, as the extra phosphorus can encourage weak, leggy growth instead of fruiting. Instead, focus on nitrogen-rich fertilizers during this time to support leafy growth.
For fruit trees, apply bone meal in early spring or late fall to promote root development and next year’s bloom production.
When applying bone meal, always mix it into the soil rather than sprinkling it on top. This prevents root burn and ensures even distribution. For container plants, work 1-2 tablespoons into the top 2-3 inches of soil at planting.
For in-ground gardens, spread ½ cup per 10 square feet and lightly till it into the top 4-6 inches of soil.
For side-dressing established plants, like tomatoes or peppers, apply bone meal in a thin band around the base of the plant, about 3 inches from the stem. Gently scratch it into the soil and water it in to activate the nutrients.
This method is especially effective when you notice slow root growth or fewer blooms than expected.
Dosage is critical—too much bone meal can overload the soil with phosphorus, leading to nutrient imbalances or even toxic levels. A general rule is to use no more than 1-2 cups per 10 square feet per year.
For heavy feeders like roses or fruit trees, you can split this into two applications: once in early spring and again in mid-summer.
If you’re unsure whether your soil needs bone meal, conduct a soil test first. High phosphorus levels (above 100 ppm) mean you should skip it and opt for a balanced fertilizer instead.
For most gardeners, bone meal is a game-changer for root and bloom growth, but it’s all about precision and timing.
Once you’ve applied bone meal, keep an eye out for improved root systems and more frequent blooming. Within a few weeks, you should see healthier foliage and stronger stems, especially in plants that thrive with phosphorus.
Just remember: bone meal is a supplement, not a replacement for balanced fertilization, so pair it with other organic amendments like compost for best results.
Best plants to use bone meal on (and which ones to avoid)
Bone meal is a powerhouse for plants that need strong root systems and abundant blooms, thanks to its high phosphorus content. But not all plants benefit equally—some even suffer from overuse.
My garden thrives when I target bone meal to phosphorus-loving plants like tomatoes, roses, and peppers, while avoiding leafy greens that prefer nitrogen. The key is knowing which plants crave phosphorus and when to skip it entirely.
For vegetables, bone meal is a game-changer for root crops and fruiting plants. Tomatoes, peppers, and eggplants respond dramatically with larger yields and healthier roots. Even onions and garlic benefit from its root-boosting properties.
Meanwhile, herbs like basil and cilantro don’t need the extra phosphorus and can develop bitter flavors or stunted growth if over-fertilized with bone meal.
⚠️ PROS-CONS BOX: Bone Meal Use Guide
✅ DO USE ON
- 🌱 Tomatoes – Boosts fruit production
- 🌹 Roses – Enhances bloom size
- 🌶️ Peppers – Strengthens root systems
- 🌼 Bulbs (tulips, daffodils) – Promotes bulb growth
- 🍅 Eggplants – Increases yield
❌ AVOID ON
- 🥬 Leafy greens (lettuce, spinach) – Too much phosphorus causes bitterness
- 🌿 Herbs (basil, cilantro) – Can stunt growth or alter flavor
- 🌰 Nitrogen-loving plants (corn, beans) – Prefers nitrogen over phosphorus
- 🍓 Strawberries – Needs balanced NPK, not phosphorus-heavy
If you’re growing flowers, bone meal is a must for roses, dahlias, and petunias. These plants thrive on phosphorus and reward you with vibrant blooms and longer flowering seasons. For trees and shrubs, apply bone meal when planting or transplanting to encourage strong root establishment.
However, avoid using it on established trees—they rarely need extra phosphorus and can suffer from root burn if over-fertilized.
Watch for warning signs of overuse: yellowing leaves, crispy leaf edges, or slow growth. These are red flags that your plants are getting too much phosphorus.
To prevent this, always follow dosage guidelines—typically 1 tablespoon per plant or 1 cup per 10 square feet—and mix it into the soil rather than applying it on the surface. A little goes a long way with bone meal!
For container gardens, bone meal is especially useful for tomatoes and peppers grown in pots. Since container plants have limited root space, they benefit from the extra phosphorus to support fruit development.
Just remember to replenish bone meal every 3-4 months during the growing season. And if you’re growing houseplants, bone meal is rarely needed—most indoor plants prefer balanced fertilizers with equal NPK ratios.
My top tip? Test your soil first. If your soil is already high in phosphorus, skip bone meal entirely. Use a soil test kit to check phosphorus levels before applying.
For most gardeners, bone meal is a secret weapon for bigger blooms and bountiful harvests—just use it wisely! 🌱