
Fertilization
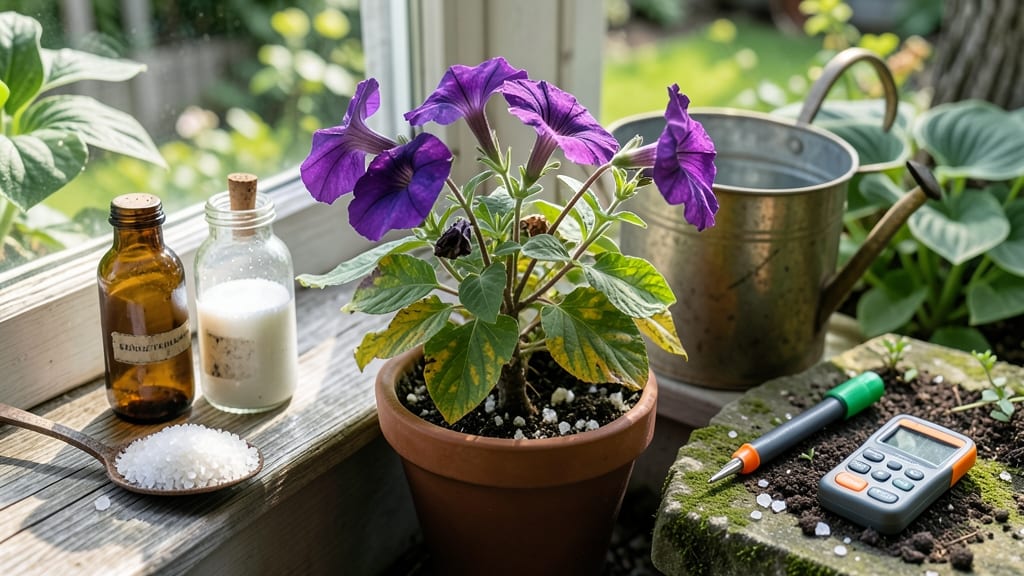
Using Epsom salt in your garden can turn yellowing leaves and weak stems into lush, healthy growth—if you know the right way to apply it.
Picture this: you’ve nurtured your plants all season, only to watch them develop pale, crispy edges or floppy stems that snap at the slightest breeze. That’s often a magnesium deficiency, and Epsom salt (magnesium sulfate) is the quick fix you’ve been overlooking.
It’s not magic—it’s science, and I’ll show you exactly how to use it without overdoing it.
From tomatoes to roses, Epsom salt works as a soil drench, foliar spray, or even a granular top dressing. But here’s the catch: too much can harm your soil, and not all plants need it.
I’ll break down the best plants to treat, how much to use, and when to skip it entirely—so you can boost your garden’s health without the guesswork.
Ready to revive your struggling plants? Let’s dive into the dos and don’ts of Epsom salt so you can get it right the first time.
How Epsom salt fixes magnesium deficiency in plants
If your plants are showing yellowing leaves between veins, stunted growth, or weak stems, they might be screaming for magnesium. This essential mineral is the secret ingredient behind chlorophyll production—the green pigment that powers photosynthesis.
When magnesium levels drop, your plants struggle to convert sunlight into energy, leading to those telltale signs of deficiency. The good news? Epsom salt (magnesium sulfate) is a garden superhero for fixing this issue quickly and affordably.
Magnesium isn’t just about keeping leaves green—it also plays a crucial role in flower and fruit development. Without enough of it, your tomatoes might stay small, your roses could bloom poorly, and your houseplants may develop crispy edges.
Epsom salt delivers magnesium and sulfur in a form plants can absorb instantly, making it a go-to remedy for gardeners who want fast results without synthetic fertilizers.
But how does Epsom salt actually work? When dissolved in water, it breaks down into magnesium ions and sulfate ions, both of which are readily available for plant roots.
Unlike slow-release fertilizers, Epsom salt provides an immediate boost, helping plants recover from deficiency symptoms in as little as 1-2 weeks with proper application. Think of it as a magnesium IV drip for your garden!
| Deficiency Symptom | Affected Plant Parts | Epsom Salt Fix | Best Plants to Treat |
|---|---|---|---|
| Yellowing between leaf veins | Older leaves first | 1 tbsp per gallon water, foliar spray | Tomatoes, Peppers, Roses |
| Weak, thin stems | New growth | 1 tbsp per sqft soil, water in | Houseplants, Herbs, Succulents |
| Poor flower/fruit development | Blooms and fruit | 1 tbsp per plant, monthly | Citrus Trees, Berries, Lavender |
| Crispy leaf edges | Leaf margins | 1 tsp per gallon water, soil drench | Ferns, Calatheas, Peace Lilies |
| Stunted growth | Entire plant | 2 tbsp per sqft, spring application | Vegetable Gardens, Lawns |
Not all yellow leaves mean magnesium deficiency—iron deficiency can cause similar symptoms, but it typically starts on younger leaves rather than older ones.
To confirm, check the soil pH: magnesium deficiencies are more common in alkaline soils (pH 7.5+), while iron issues thrive in acidic soils (pH 6.0-). Epsom salt won’t help iron problems, so test your soil first if symptoms persist.
One of the biggest myths about Epsom salt is that it’s a complete fertilizer. While it provides magnesium and sulfur, it lacks nitrogen, phosphorus, or potassium—the NPK trio plants need for robust growth.
Use it as a supplement, not a replacement for balanced fertilizers. For example, pair it with compost or 10-10-10 fertilizer for best results in vegetable gardens.
Science backs up Epsom salt’s effectiveness. A 2018 study from the Journal of Plant Nutrition found that foliar applications of magnesium sulfate improved photosynthetic efficiency by 20% in magnesium-deficient plants within 14 days.
The key is proper application: too little won’t fix the problem, and too much can lead to sulfur toxicity or salt buildup in soil. Stick to the 1-2 tbsp per gallon rule for foliar sprays and 1 tbsp per sqft for soil applications.
For houseplants, dissolve 1 teaspoon of Epsom salt in a gallon of water and spray the leaves monthly during growing season. Outdoor plants like tomatoes and peppers benefit from a soil drench every 4-6 weeks, especially during fruiting stages.
Always apply in the morning to avoid fungal issues from wet foliage sitting overnight.
Remember, Epsom salt is a short-term fix, not a long-term solution. To prevent
Step-by-step guide: applying Epsom salt to your garden
Epsom salt—magnesium sulfate—is a garden powerhouse that fixes magnesium deficiencies and boosts plant health. Whether you’re treating yellowing leaves or reviving weak stems, proper application makes all the difference.
I’ll walk you through soil drenches, foliar sprays, and dosage guidelines for vegetables, flowers, and houseplants to avoid overuse and maximize results.
Before diving in, grab your Epsom salt, a spray bottle or watering can, and a pair of gloves. The key is precision—too little won’t help, but too much can harm your plants.
Start with small amounts and monitor your garden’s response. For most plants, 1 tablespoon per gallon of water is a safe starting point, but we’ll refine this based on your specific needs.
-
Step 1: Choose Your Method
- Soil Drench: Best for root uptake in vegetables and perennials.
- Foliar Spray: Ideal for houseplants and flowers with visible deficiencies.
- Granular Form: Sprinkle around base of plants and water in (1 tbsp per sqft).
-
Step 2: Prepare Your Solution
- Dissolve 1 tbsp Epsom salt in 1 gallon of water (adjust for plant type).
- For foliar sprays, use ½ tbsp per gallon to avoid leaf burn.
- Stir until fully dissolved—undissolved crystals can damage roots.
-
Step 3: Apply to Vegetables & Flowers
- Tomatoes/Peppers: Soil drench every 2 weeks during growing season.
- Roses/Hydrangeas: Foliar spray monthly for vibrant blooms.
- Lawns: Granular form (1 lb per 500 sqft) in early spring.
-
Step 4: Treat Houseplants
- Use ¼ tsp per quart of water for foliar spray.
- Target yellowing leaves on snake plants, ferns, or monstera.
- Apply every 4-6 weeks or when deficiencies appear.
-
Step 5: Monitor & Adjust
- Watch for improved leaf color within 2-3 weeks.
- If overuse occurs, flush soil with plain water.
- Rotate with compost or organic fertilizer to balance nutrients.
For vegetables like tomatoes and peppers, focus on soil applications during the growing season. These heavy feeders benefit from magnesium boosts every 2 weeks, especially if your soil is sandy or deficient.
Mix 1 tablespoon per foot of plant height into the soil at the base, then water thoroughly. This method ensures roots absorb the magnesium they crave for fruit development and stem strength.
When treating flowers or houseplants, a foliar spray works wonders. Simply mist the undersides of leaves (where stomata absorb nutrients) with your diluted solution. This is perfect for roses, orchids, or succulents showing signs of stress.
Just remember: less is more—start with a light spray and increase only if needed. Over-spraying can lead to leaf burn or salt buildup.
Pro tip: Pair Epsom salt with compost tea or fish emulsion for a balanced nutrient boost. Avoid using it on plants with high sulfur needs, like brassicas, as magnesium and sulfur compete for uptake. Always test your soil’s pH first—ideal levels are 6.0-7.0 for magnesium absorption.
With these steps, your garden will thrive without the guesswork. Keep an eye out for healthier foliage, stronger stems, and bigger blooms—all thanks to this budget-friendly fix! 🌱