
Fertilization
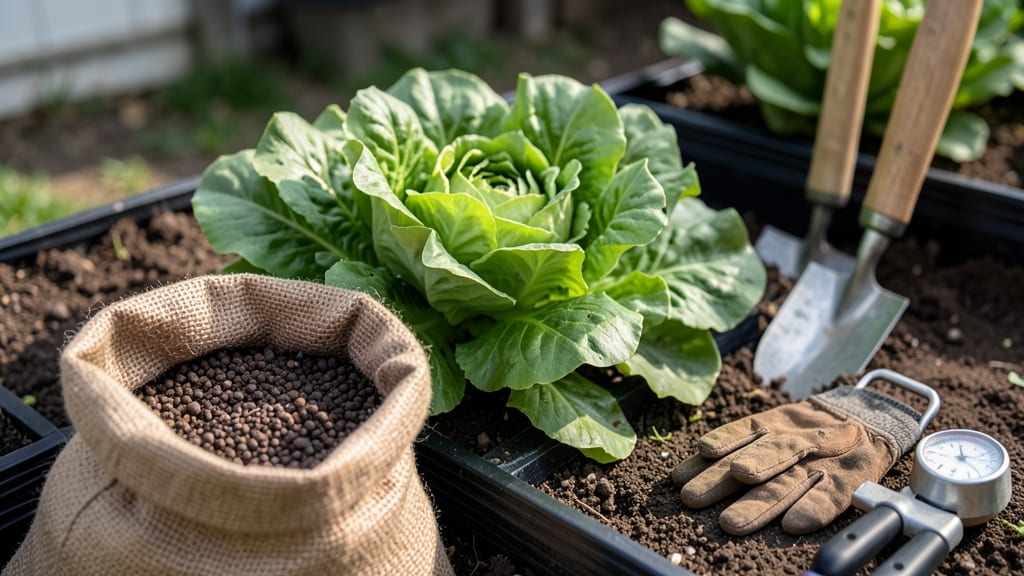
Using chicken fertilizer for gardens can turn your soil into a nutrient-rich haven for plants 🐔🌱 — but only if you apply it the right way.
Struggling to boost your garden’s growth without breaking the bank? Chicken manure isn’t just a waste product—it’s a nitrogen-rich powerhouse that can transform your soil and plants in weeks. The key is knowing how to use it safely and effectively, whether you’re composting it first or applying it directly.
This guide covers everything from aging requirements to application techniques, so you can avoid burning your plants while maximizing their benefits. We’ll also compare it to other organic fertilizers like compost or worm castings, helping you decide what works best for your garden.
By the end, you’ll know exactly how much to use, when to apply it, and which plants will thrive with this nutrient-packed fertilizer. Let’s get your garden growing stronger than ever!
How chicken manure boosts garden soil: nitrogen, phosphorus, and potassium breakdown
If you’ve ever wondered why your garden thrives after adding chicken manure, the answer lies in its nutrient powerhouse of nitrogen (N), phosphorus (P), and potassium (K). This organic fertilizer isn’t just about feeding plants—it’s about reviving soil life and creating a balanced ecosystem.
Unlike synthetic fertilizers, chicken manure delivers these nutrients slowly, improving soil structure and microbial activity over time.
Fresh chicken manure contains high nitrogen levels (2-4%), making it ideal for leafy greens like lettuce and spinach. However, its phosphorus (1-2%) and potassium (1-2%) content supports root development and flowering plants like tomatoes and roses.
The key? Proper aging transforms raw manure into a safer, more effective soil amendment.
Here’s the breakdown: raw chicken manure can burn plant roots due to its high ammonia content, but after 3-6 months of composting, it becomes a gentle, nutrient-rich soil booster.
The NPK ratio shifts as it decomposes, making it safer for direct application. For example, composted manure often tests around 1-2-1 NPK, perfect for balanced garden growth.
| Nutrient | Fresh Manure | Composted (3-6 Months) | Benefits |
|---|---|---|---|
| Nitrogen (N) | 2-4% | 1-2% | Leafy growth, green foliage |
| Phosphorus (P) | 1-2% | 0.5-1% | Root development, flowering |
| Potassium (K) | 1-2% | 0.5-1% | Disease resistance, fruit quality |
| Microbial Activity | Low (raw) | High (composted) | Soil health, nutrient cycling |
| Application Safety | High burn risk | Safe for direct use | No plant damage |
Beyond its NPK content, chicken manure introduces beneficial microbes that break down organic matter, releasing nutrients plants can absorb. This process improves soil structure and water retention, reducing the need for synthetic additives.
For instance, composted manure can increase soil organic matter by 2-3% in a single season, leading to healthier roots and higher yields.
Comparing chicken manure to synthetic fertilizers reveals its advantages: it enhances soil biology while synthetics often deplete microbial life. Synthetics provide quick fixes, but chicken manure builds long-term soil fertility.
For example, a 100 sq ft garden amended with 1 lb of composted manure can support 20% more vigorous growth in vegetables like peppers and cucumbers compared to chemical-only fertilizers.
To maximize benefits, age manure for at least 3 months before garden use. Spread it as a 1-inch layer on soil and mix it into the top 6 inches of dirt.
For potted plants, use a 10% manure-to-soil ratio to avoid overloading roots. Always water thoroughly after application to activate microbial activity and prevent nutrient loss.
One common myth is that chicken manure is only for nitrogen-loving plants. In reality, its balanced micronutrients like calcium and magnesium support all plants. For fruit trees, mix composted manure into the root zone in early spring to boost flowering and fruiting.
Even ornamental plants like hydrangeas benefit from its potassium, which enhances color vibrancy.
For container gardens, dilute fresh manure with compost or coconut coir at a 1:3 ratio to reduce burn risk. Monitor plants for yellowing leaves, a sign of excess nitrogen, and adjust applications accordingly.
Over time, consistent use of chicken manure can reduce your need for synthetic fertilizers by up to 50%, saving money and improving soil health.
Remember, the secret to success lies in patience and preparation. Rushing to use raw manure can harm your plants, but with proper aging and application, chicken manure becomes one of the most cost-effective and sustainable ways to boost your garden’s productivity.
Start small, observe results, and let your soil—and plants—thank you.
Step-by-step guide: applying chicken fertilizer without burning your plants
Applying chicken fertilizer correctly is the secret to unlocking its full potential without harming your plants. Fresh manure can burn roots due to its high ammonia content, while aged or composted versions provide steady nutrients. The key lies in preparation and timing—whether you’re feeding leafy greens or flowering plants.
For beginners, I recommend starting with composted chicken manure, which has a milder nutrient concentration and fewer risks. Even experienced gardeners benefit from understanding the layering techniques and dilution ratios to avoid overloading soil.
Let’s break down the process into clear, actionable steps so you can apply this fertilizer safely and effectively.
⚠️ IMPORTANT: Always wear gloves and a mask when handling raw chicken manure to avoid pathogens. Proper aging or composting neutralizes harmful bacteria while preserving nutrients.
How to Apply Chicken Fertilizer Safely
- 1 Choose Your Manure: Use aged (6+ months) or composted chicken manure for direct soil application. Fresh manure must be composted for 3-6 months before use.
- 2 Test Your Soil: Conduct a soil pH test (ideal range: 6.0-7.0). Chicken manure is slightly acidic; amend with lime if needed to prevent nutrient lockout.
- 3 Apply to Vegetables: Sprinkle 1-2 cups per 10 sq ft around leafy greens (spinach, lettuce) or root crops (carrots, beets). Work into top 2-3 inches of soil or use a compost tea for foliar feeding.
- 4 Feed Flowers Differently: For annuals (petunias, marigolds) or perennials (roses, lavender), reduce to ½ cup per 10 sq ft to avoid excessive leaf growth over blooms.
- 5 Layer for Long-Term Benefits: Mix 1 lb of composted manure per 100 sq ft into garden beds in early spring or fall. Top with 2 inches of mulch to retain moisture and nutrients.
- 6 Water Thoroughly: Apply 1-2 inches of water immediately after spreading to activate nutrients and prevent burning. Repeat weekly during the growing season.
- 7 Monitor Plant Response: Watch for lush green leaves (sign of nitrogen success) or yellowing edges (overapplication). Adjust future doses accordingly.
Timing is everything when applying chicken fertilizer. For vegetables, focus on early spring or after harvesting to avoid competing with active growth. For flowers, a light application in late spring encourages blooming without excessive foliage. Always avoid applying near seedlings or during drought conditions.
Pro tip: Mix chicken manure with compost or worm castings to balance its high nitrogen content with phosphorus and potassium. This creates a more well-rounded fertilizer for all plant types. For container gardens, reduce the amount by half to prevent nutrient overload in small soil volumes.
Remember, the goal is to build healthy soil, not just feed plants quickly. With these steps, your garden will thrive with vibrant growth and fewer pests—naturally! 🌱🐔