
Tools
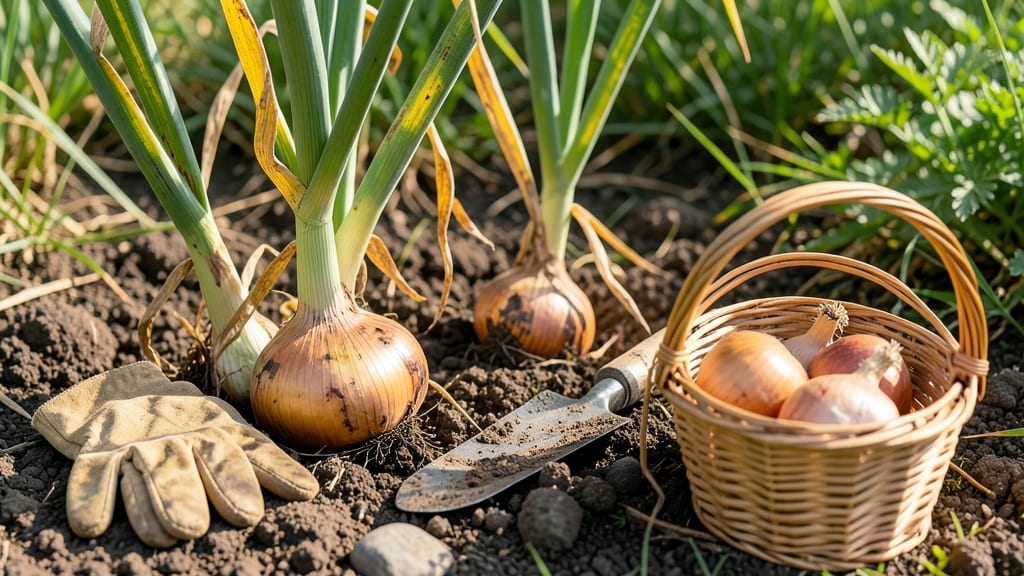
Pull onions from your garden when the tops yellow and flop over 🧅 — that’s the sweet spot for flavor and storage potential.
I’ve seen gardeners miss this window by days, only to end up with tough, pungent bulbs that store poorly. The difference between a perfect harvest and a wasted crop often comes down to timing — and knowing exactly what to look for.
Below, I’ll walk you through the three key visual cues that tell you it’s time to pull, plus how climate and variety affect your harvest schedule.
You’ll also learn how to test bulb firmness with your fingers and avoid the most common mistakes that turn great onions into bitter disappointments.
3 Visual cues to identify when onions are ready for harvest
Harvesting onions at the right time ensures you get the best flavor and storage life. If you pull them too early, the bulbs will be small and pithy, while waiting too long can lead to tough, bitter onions or even sprouting.
The key is learning to read your plants for these three visual cues that signal peak maturity. These signs work for both yellow onions and red varieties, though timing may vary slightly by type.
First, focus on the top leaves—this is your most reliable indicator. When the outer leaves turn a straw-colored yellow and begin to flop over, it’s a clear sign the bulb below has reached full size.
This process usually takes about 100-120 days from planting, depending on your climate and onion variety. Don’t wait until the leaves turn brown, as this means the bulb may have already started to dry out or even sprout.
The second cue to watch is the bulb diameter. At harvest time, your onions should be about 1-2 inches wide when viewed from the top. You can gently brush away some soil to check, but avoid digging too deeply—this can damage the bulb.
If the bulb feels firm and the skin starts to develop a papery texture, it’s ready. Smaller bulbs (under 1 inch) are still growing, while larger ones may have tougher skins and less flavor.
Now, let’s look below ground for the third visual clue: the neck thickness. The neck is the part of the onion where the bulb meets the stem. At the perfect harvest time, this neck should be about half an inch thick.
If it’s thinner, the bulb isn’t fully developed; if it’s thicker, the onion may have already started to split or sprout. This is especially important for long-day onions, which need this thicker neck to store well over winter.
🌱 3 Visual Cues to Harvest Onions
- 1. Yellowing Tops: Outer leaves turn straw-colored yellow and flop over (not brown).
- 2. Bulb Size: Diameter reaches 1-2 inches with firm, papery skin.
- 3. Neck Thickness: Stem base is about ½ inch thick where it meets the bulb.
Pro Tip: Morning harvests prevent onions from splitting due to heat stress.
One common mistake is waiting until the tops are completely brown and crispy. By this point, the bulb may have already started to sprout or become woody, ruining its flavor and storage potential. Instead, act quickly once you see those yellowing tops.
Another trick is to gently pull up a test onion—if the bulb slides out easily with minimal soil attached, it’s ready. If it resists, leave it a few more days.
Regional differences can also affect harvest timing. In cooler climates (like USDA Zone 4), onions may mature faster due to shorter daylight hours, while in warmer zones (like Zone 8), they might take longer.
Pay attention to your local last frost date—if your onions are still green when frost threatens, they won’t mature properly. In these cases, consider harvesting green onions (scallions) instead, which can be pulled anytime the tops reach 6-8 inches tall.
Once you’ve identified these visual cues, the next step is to harvest carefully. Use a garden fork to loosen the soil around the bulb, then gently lift it out. Avoid cutting the tops—leave about 1 inch of stem attached to help the onion cure properly.
After harvest, lay the onions in a dry, shady spot for 1-2 weeks to cure, which improves their storage life and flavor. This step is crucial for preventing rot and ensuring your onions keep well through the winter.
If you’re growing short-day onions (like Texas Sweet or Grano), they’ll mature faster in warmer climates, while long-day onions (like Yellowstone or Sweet Spanish) need cooler temperatures to bulb properly. Always check the seed packet for variety-specific guidance, but these three visual cues will work for nearly all types.
With practice, you’ll develop an eye for the perfect moment to pull your onions—resulting in bulbs that are sweet, firm, and ready for storage or cooking.
Remember, the goal is to harvest onions when they’re at their peak, not a moment later. Over-mature onions lose their sweetness and become tough, while under-mature ones won’t store well.
By mastering these three visual cues, you’ll transform your onion harvest from guesswork to a reliable, flavorful success every season. Happy digging!
How to test onion maturity before pulling: the finger-press method
Harvesting onions at the right moment ensures sweet, flavorful bulbs instead of tough, pungent ones. The finger-press method is my go-to trick for checking maturity without guessing. This simple test reveals whether your onions are ready to pull or still need time in the soil.
Start by selecting a few onions from your garden bed. Gently grasp the top of the bulb with your thumb and forefinger, about 1-2 inches above the soil line.
Apply light pressure—if the bulb feels firm and resists your squeeze, it’s likely mature. If it gives easily, it needs more time.
Avoid harvesting when the bulb feels soft or mushy, as this signals over-maturity. Overripe onions often split or develop hollow centers, ruining their flavor. The finger-press method helps you catch them at the peak of sweetness before they go past their prime.
⚠️ callout-warning ⚠️
⚠️ When NOT to Pull Onions
- Green tops still growing: If leaves are upright and vibrant, bulbs aren’t mature yet.
- Skin is tight or green: Immature onions won’t store well and lack flavor.
- Bulb feels hollow: Over-mature onions split easily and taste bitter.
🌱 Pro Tip: Test 2-3 onions weekly to track progress.
For the most accurate results, test onions on a dry, sunny morning. Moist soil can make bulbs feel softer than they are, leading to false readings. If your garden is waterlogged, wait until the soil dries slightly before testing.
Once you confirm maturity, pull onions gently by the base of the tops, leaving the roots intact. Cure them in a dry, shaded area for 1-2 weeks to develop their skin and improve storage life. This simple method saves you from bitter surprises and ensures a bountiful harvest.
Remember, onions mature at different rates based on variety and climate. Short-day onions (like Texas Early White) may mature faster in warm regions, while long-day types (like Sweet Spanish) need cooler temperatures. Always adjust your finger-press tests to your local growing conditions.