
Picking
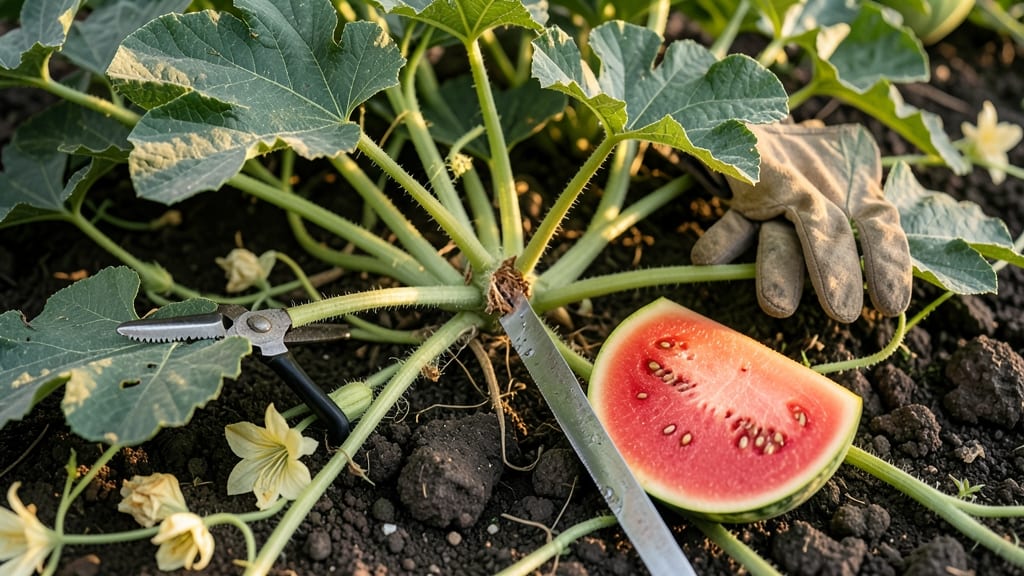
To pick watermelon from your garden at the perfect moment means sweet, juicy fruit—not that mealy disappointment you get when you guess wrong.
Nothing beats the sweet victory of harvesting your own 🍉—except maybe the disappointment of a mealy, underripe one. Timing your pick perfectly ensures juicy, flavorful fruit every time, but how do you know when those vines are ready?
You don’t need a crystal ball—just a few simple tricks. Check the rind for that deep, consistent color, listen for the hollow thump when you tap it, and watch for the curly tendril near the stem turning brown. These signs tell you exactly when to grab your knife.
Below, I’ll walk you through the 3 foolproof ways to tell when your watermelon is ready to harvest, plus how to avoid the most common mistakes that ruin the flavor. Let’s get started!
The ultimate watermelon ripeness checklist: thump test & 3 proven signs
Nothing beats the sweet victory of harvesting your own watermelon—except maybe the disappointment of a mealy, underripe one. Timing your pick perfectly ensures juicy, flavorful fruit every time, but how do you know when those vines are ready?
The secret lies in combining multiple ripeness indicators rather than relying on just one method. I’ve tested these techniques in my garden for years, and these three proven signs plus the classic thump test will give you foolproof results every harvest.
Many gardeners make the mistake of picking watermelons based on size alone, but size doesn’t guarantee ripeness. A watermelon can grow large while still being bland and underdeveloped inside. Instead, focus on these visual and tactile clues that reveal when your fruit is truly ready to enjoy.
Pro tip: Check your melons every 2-3 days during peak ripening season (usually July to September in most climates) to catch them at their sweetest.
- 1 Stem Check: The stem near the vine should turn yellow-brown and dry out. If it’s still green, wait 2-3 more days.
- 2 Tendril Test: The small curly tendril near the stem should turn brown and crispy. This is your best indicator of ripeness.
- 3 Rind Color: The underside of the melon (where it rested on the ground) should be creamy yellow. Dark green patches mean it’s not ready.
- 4 Thump Test: Tap the melon with your knuckles. A deep, hollow sound means it’s ripe, while a dull thud signals underripeness.
- 5 Weight Test: A ripe watermelon feels heavy for its size. Lift it—if it’s surprisingly light, it needs more time on the vine.
The thump test is the most famous method, but it’s not foolproof on its own. I’ve seen overripe melons that sound hollow but taste bland. That’s why I always combine it with the stem and tendril tests.
These three signs together create a triple-check system that eliminates guesswork. For example, if your melon passes the thump test but the tendril is still green, wait another day or two.
Don’t overlook the underside color, either. Many gardeners focus on the top, but the cream-colored patch where the melon touched the ground is your best clue. This area should be fully yellow—no green spots allowed.
I once picked a melon with a mostly yellow bottom but still had a tiny green patch. When I cut it open, that spot was rock-hard and tasteless. Lesson learned: No green means no go!
Here’s a pro tip from my garden: Harvest in the morning when temperatures are coolest. This prevents the melons from overripening in the heat of the day. Use a sharp knife or pruners to cut the stem, leaving about 1-2 inches attached.
This helps the fruit ripen evenly and prevents rot. Avoid twisting or pulling the melon, as this can damage the vine and reduce next year’s yield.
One common misconception is that larger watermelons are always riper. Not true! Some varieties, like Sugar Baby, stay small but pack maximum sweetness. Others, like Charleston Gray, grow huge but need all their signs checked.
Always compare melons of the same variety when judging ripeness. I keep a small notebook to track which melons ripen fastest in my garden—it’s saved me from missing peak harvest time.
If you’re still unsure, try the thumbnail test. Press your thumbnail into the rind. If it sinks in slightly (about 1/8 inch), the melon is ripe. If it springs back, it’s not ready. I use this test as a final double-check before committing to the thump test.
It’s quick, requires no tools, and works surprisingly well. Just avoid pressing too hard—you don’t want to puncture the skin and invite pests.
Remember, overripe watermelons taste worse than underripe ones. Once a melon turns mushy or develops soft spots, its flavor declines rapidly. If you’ve waited too long and your melon is overripe, don’t despair—it’s still edible! Store it in a cool, dry place and use it within 3-5 days.
For maximum sweetness, though, aim to harvest when all four signs align. With practice, you’ll develop an eye (and ear!) for the perfect moment.
Now that you’ve mastered the ripeness checklist, your next challenge is storing your harvest properly. Keep whole watermelons in a cool, dry place (50-55°F) and cut melons refrigerated. I like to wrap the cut sides in plastic wrap to maintain moisture.
With these techniques, you’ll go from guessing to growing the sweetest watermelons your neighbors will envy! 🍉
Watermelon variety matters: ripening times & size clues by type
Not all watermelons ripen on the same schedule, and their size at harvest can vary dramatically. Seedless varieties like Sugar Baby mature faster but stay smaller, while heirlooms like Charleston Gray take longer but grow massive. Understanding these differences helps you time your harvest perfectly.
Your watermelon variety determines both ripening time and ideal size. Hybrids often strike a balance—ready in 75-85 days—while heirlooms can take 90+ days but reward you with deeper flavor. Even within types, vine health and fruit weight offer clues about readiness.
Size isn't everything—a 10-pound Sugar Baby might be perfect, while a 30-pound heirloom could still be underripe. Always combine size checks with the stem color and thump test for accuracy. Here’s how popular varieties compare:
| Variety | Type | Days to Ripen | Avg. Size | Size Clues |
|---|---|---|---|---|
| Sugar Baby | Seedless Hybrid | 70-75 days | 8-12 lbs | Small, round, creamy rind |
| Charleston Gray | Heirloom | 90-100 days | 30-50 lbs | Large, striped, heavy for size |
| Crimson Sweet | Open-Pollinated | 80-90 days | 20-30 lbs | Medium, oval, smooth rind |
| Seedless Jubilee | Seedless Hybrid | 75-80 days | 15-25 lbs | Medium, oblong, creamy rind |
For seedless varieties, focus on rind color and stem drying—they often lack the classic yellow spot. Heirlooms, however, need extra time to develop their signature sweetness, so don’t rush the harvest just because they’re large. A heavy fruit with a dull thump is your best bet.
Watch for vine yellowing near the fruit, a sign the plant is redirecting energy to ripening. Hybrids like Crimson Sweet often ripen uniformly, while heirlooms may have a few stragglers. Plan to harvest seedless types first—they spoil faster once ripe.
Pro tip: Weigh your melons—ripe watermelons feel heavy for their size. A 10-pound Sugar Baby with a dry stem is ready, while a 30-pound heirloom needs another week if it’s still light. Adjust your timing based on your variety’s ripening schedule and local climate.