
Picking
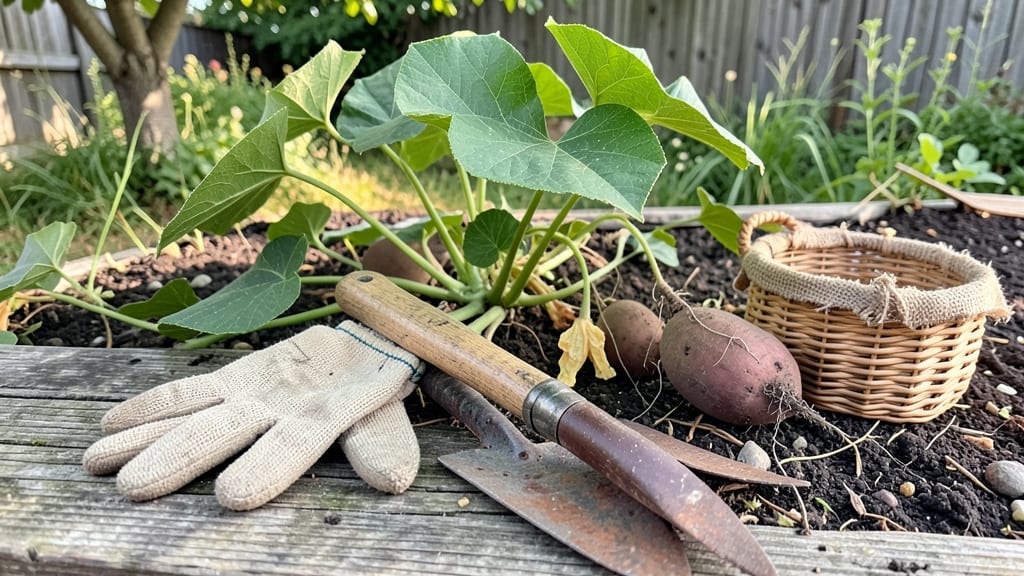
Picking sweet potatoes from the garden at the right moment means the difference between tender, flavorful tubers and tough, starchy ones — and the best way to tell is by watching for a few key signals.
Harvesting too early leaves you with small, underdeveloped roots, while waiting too long risks frost damage or vine die-off, leaving you with nothing but woody messes.
But here’s the good news: with the right tricks, like the skin slip test and checking soil conditions, you can nail the perfect timing every season.
Regional differences matter, too. In cooler climates like Zone 6a, sweet potatoes need to be pulled before the first frost hits around late October, while warmer areas can wait until early November.
Below, I’ll walk you through the exact signs to watch for, plus how to store your harvest for months of sweet, homegrown goodness.
Whether you’re a first-time grower or a seasoned pro, these tips will help you turn your garden’s 🍠 bounty into a pantry staple that tastes like summer all year long.
How to test sweet potato maturity using the skin slip method
The skin slip method is the most reliable way to determine when your sweet potatoes are ready for harvest. This simple test checks how easily the skin peels away from the tuber—a clear sign of maturity.
Unlike guessing by days after planting, this method accounts for soil conditions, weather variations, and your specific variety. When done correctly, it ensures you harvest at peak sweetness and texture.
If you’ve ever dug up sweet potatoes too early and found small, woody tubers, or waited too long and faced frost damage, you know timing matters. The skin slip test eliminates guesswork by focusing on the tuber’s physical readiness.
It’s especially useful in shorter growing seasons or when dealing with unpredictable weather patterns. Mastering this method will help you avoid both underripe and overripe harvests.
Why the skin slip test works: As sweet potatoes mature, their skins toughen and separate from the flesh. When the skin slips easily (peels away in one piece), the tuber is at its sweetest and most flavorful. This happens when the plant’s energy shifts from leaf growth to tuber development, typically 90–140 days after planting, but timing varies by climate zone and variety.
Step-by-Step Skin Slip Test
-
Step 1: Choose a healthy vine
Select a main vine (not a runner) that’s fully mature. Look for yellowing leaves or wilted foliage, signs the plant is nearing harvest. -
Step 2: Locate a tuber
Gently trace the vine to find where it connects to the soil. Tubers typically form near the base of the plant, about 4–6 inches below the surface. -
Step 3: Dig carefully
Use a hand trowel to dig a small hole (6–8 inches deep) around the vine. Avoid damaging tubers with sharp tools. -
Step 4: Expose the tuber
Brush away loose soil to reveal a single tuber. Choose one that’s firm and full-sized (about the size of a tennis ball or larger). -
Step 5: Perform the slip test
Hold the tuber and gently press your thumbnail into the skin. If the skin slips away easily (like a stocking over your hand), it’s ready. If it resists or tears, wait 1–2 weeks. -
Step 6: Replant and wait
If the tuber isn’t ready, cover it lightly with soil and wait. Check again in 5–7 days. Once passed, harvest the entire patch within 1–2 weeks to avoid overripeness.
✅ Ready to harvest when skin slips easily and tubers feel firm.
The skin slip test isn’t just about harvest timing—it’s also a way to assess tuber quality. If the skin slips but the tuber feels soft or shriveled, it may have been overwatered or exposed to temperature swings.
Conversely, if the skin resists but the tuber is large and firm, it’s likely just not fully matured yet. This test gives you a real-time read on what’s happening underground.
For bush varieties (like Beauregard), the skin slip test works best when the vines start dying back. For portuguese types (like Garnet), which spread aggressively, focus on the older vines first—they’ll mature slightly earlier than new runners.
Always test multiple tubers from different parts of the bed to account for uneven growth.
One common mistake is testing too early in the season. Sweet potatoes need warm soil (at least 60°F) and consistent sunlight to develop properly. If you test in cool weather or after a heatwave, the results may be inaccurate.
Aim to perform the test in mornings when tubers are hydrated and firm.
If your climate zone has a short growing season (like Zone 5 or colder), combine the skin slip test with frost monitoring. Sweet potatoes cannot tolerate frost, so harvest 2–3 weeks before the first expected frost date.
In warmer zones (Zones 8–10), you may have a longer window to test and harvest, but don’t wait too long—they’ll become woody and dry.
Pro tip: Keep a harvest journal to track when your specific variety passes the skin slip test. Note the days to maturity, soil temperature, and weather conditions. Over time, you’ll predict harvest dates more accurately without relying solely on the test.
For example, if your Beauregard sweet potatoes consistently pass the test at 110 days in your area, you’ll know to start testing around day 100.
Once your sweet potatoes pass the skin slip test, harvest them within 1–2 weeks to ensure peak flavor.
Use a fork or hands to gently loosen soil, then pull the vines to expose tubers. Cure them properly (6–10 days at 80–85°F and 80% humidity) to develop their sweetness and storage life. Avoid washing tubers before curing—dirt protects them during this critical phase.
🌱
Signs of overripe sweet potatoes: when to harvest before damage occurs
Waiting too long to harvest sweet potatoes can turn those sweet, starchy tubers into tough, woody messes. The key is recognizing overripe signs before they ruin your crop.
When vines yellow and die back naturally, that’s your first warning—ignore it, and you risk shriveled tubers or even rot in the soil.
Overripe sweet potatoes develop a hard, leathery skin that cracks easily when handled. This happens because the tubers dry out as the plant focuses its energy on seed production. Worse yet, the flesh becomes stringy and fibrous, losing that buttery texture we all love.
One of the most obvious visual cues is leaf yellowing followed by complete vine death. If you see brown, crispy leaves while the tubers are still in the ground, your sweet potatoes have likely passed their prime.
The soil around the plants may also feel dry and cracked as the roots struggle to absorb moisture.
⚠️ Critical Harvest Warning
Harvest before: Vines turn completely brown and crispy (3-5 days after full yellowing). Waiting longer risks tuber shrinkage and soil rot from prolonged drying.
Do this: Dig carefully with a fork to avoid piercing tubers. Cure harvested sweet potatoes at 85°F (29°C) with 80% humidity for 10 days to develop flavor and thicken skin.
If you ignore these signs and harvest too late, your sweet potatoes may sprout in the ground, a clear signal they’ve overstayed their welcome. Sprouting tubers lose moisture quickly and develop bitter, off flavors.
Even if you dig them up, they won’t store well and may rot within weeks.
For regional variations, Northern gardeners face extra pressure: a single early frost can force an early harvest before tubers fully mature. In warmer climates, prolonged heat stress accelerates overripeness. Always check the skin slip test (gently rubbing skin—if it slips easily, they’re ready).
To prevent overripeness, monitor your plants weekly after 90 days. If vines yellow but tubers still feel soft when dug, wait 2-3 more days—but don’t delay past the first frost. Proper timing ensures sweet, storable tubers instead of garden rejects.