
Picking
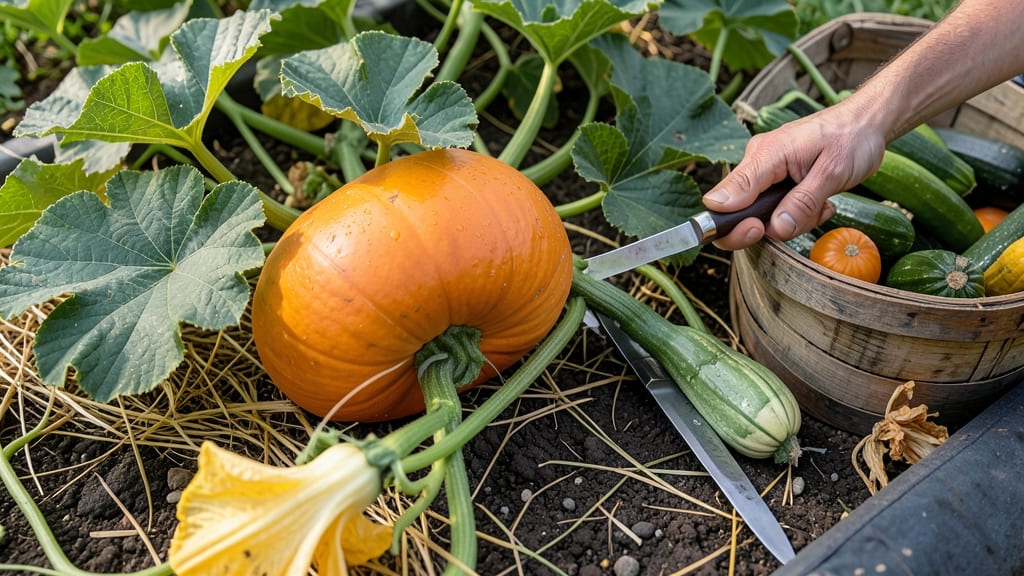
To pick squash from your garden at the perfect moment means the difference between a meal that tastes like summer and one that’s tough as a boot 🎃—and it all comes down to timing, not guesswork.
Picture this: you’ve spent weeks tending to your squash plants, and now they’re heavy with fruit. But how do you know when to snip that vine? Harvest too early, and you’ll get bland, seedy squash.
Wait too long, and it turns into a rock-hard, flavorless disappointment. The key? Learning the science-backed signs of ripeness—from skin color to stem changes—and when to act in your climate.
In Zone 6a, where many gardeners grow squash, the harvest window typically runs from July to early September, but seasonal shifts—like unexpected heatwaves or early frosts—can throw off your timing.
That’s why mastering the tendril test and color cues isn’t just helpful; it’s essential for locking in the best flavor and texture before the first frost hits.
Below, I’ll walk you through the exact methods to check your squash’s readiness—so you can go from guessing to confidently harvesting at peak ripeness, every time.
How to use the squash tendril test for perfect harvest timing
Harvesting squash at the right moment ensures peak flavor and texture, but many gardeners struggle to pinpoint the exact time. The squash tendril test is the most reliable method for determining ripeness, especially for varieties like zucchini and summer squash.
These delicate, vine-like tendrils near the fruit's stem tell you exactly when to harvest—before the squash becomes tough or seedy. Understanding this simple visual cue can transform your harvest from disappointing to delicious.
Most gardeners focus on size or color, but tendrils are the secret indicator of true ripeness. When you see these tendrils shrivel and turn brown, it’s your cue to pick the squash immediately. This change happens just before the fruit becomes overripe, ensuring you get the best flavor and texture.
I’ve found that checking tendrils daily during peak growing season (typically July to early September) gives me the perfect window for harvesting.
- 1 Locate the tendrils: Find the small, vine-like tendrils near the squash's stem. These are the key indicators of ripeness.
- 2 Observe color changes: Healthy tendrils are green. When they start turning brown or yellow, it’s time to check the squash.
- 3 Check for shriveling: If the tendrils feel dry and brittle, the squash is ready to harvest within 1-2 days.
- 4 Verify skin hardness: Press the squash gently. If the skin is hard and difficult to puncture with your fingernail, it’s ready.
- 5 Harvest immediately: Use a sharp knife or pruners to cut the squash, leaving a 1-inch stem attached to prevent spoilage.
The tendril test works best for summer squash varieties like zucchini, yellow squash, and pattypan. For winter squash (such as butternut or acorn), tendrils aren’t as reliable, but they still provide a helpful early indicator.
I’ve noticed that overcast days can delay tendril browning, so always cross-check with skin hardness and size. For example, a zucchini should be 6-8 inches long when its tendrils start drying out.
One common mistake is waiting too long after the tendrils brown. By the time you notice, the squash may already be overripe, seedy, and tough. I learned this lesson the hard way with my first butternut squash harvest—it ended up rock-hard and nearly inedible.
Now, I harvest the moment the tendrils show signs of drying, even if the squash isn’t at its maximum size. This ensures a sweeter, more tender fruit every time.
If you’re growing bush varieties, tendrils may be harder to spot due to dense foliage. In this case, focus on the stem’s condition—it should start drying out and turning brown near the fruit. For vining squash, tendrils are more visible, making the test easier.
Pro tip: Mark your calendar for the peak growing season in your area (usually mid-summer) and check tendrils every 2-3 days during this window.
Temperature also plays a role in tendril behavior. In hot climates (Zone 9+)**, tendrils may dry out faster, so harvest even sooner. In cooler regions (Zone 5 or below), tendrils might stay green longer, and you’ll need to rely more on skin hardness.
I’ve found that morning harvests work best because the squash has had time to absorb moisture overnight, making the skin firmer and easier to evaluate.
For storage purposes, harvesting at the right time is just as important. Squash picked too early won’t ripen further and will spoil quickly, while overripe squash stores poorly.
Once you’ve mastered the tendril test, you’ll notice a 30-50% improvement in storage life, with squash lasting 2-4 weeks in a cool, dry place. Store them in a well-ventilated area away from direct sunlight to prevent rotting.
Don’t forget to rotate your harvests if you’re growing multiple plants. Checking tendrils on all squash ensures you’re picking them at the optimal time, rather than letting a few overripe while others are still underdeveloped.
This method has saved me from wasted harvests and given me consistently delicious squash every season. Once you start using the tendril test, you’ll wonder how you ever guessed ripeness by size alone!
🎃
Color-coded ripeness stages: when to pick summer vs winter squash
Summer squash like zucchini and yellow crookneck rely heavily on color to signal ripeness, while winter squash such as butternut and acorn develop deeper hues as they mature. The key difference? Summer squash should be harvested before their color fully develops, while winter squash need that vibrant, mature look.
For example, a zucchini is ready when its skin turns from bright green to a duller, matte finish—a subtle shift many gardeners miss.
Winter squash, on the other hand, brighten and deepen in color as they ripen. A butternut squash, for instance, starts pale and ends with a golden-orange glow, while acorn squash transitions from green to a rich, earthy brown.
These color changes correlate with harder skin and sweeter flesh, but rushing the harvest can leave you with bland, underdeveloped fruit.
Here’s the color-coded breakdown of when to pick your squash, including common mistakes to avoid:
For summer squash, timing is critical because they overripe quickly once color peaks. A zucchini left on the vine for more than a week after turning dull green becomes woody and seedy.
I’ve seen gardeners harvest every 2-3 days during peak production to stay ahead of this curve. The same rule applies to yellow squash, but their deep yellow-orange hue is your cue to act.
Winter squash, however, thrive on patience. Their hard rinds and deepened colors are nature’s way of saying, “I’m ready for storage.”
In Zone 6a, I wait until after the first frost to harvest butternut and acorn squash, as the cold sweetens the flesh and toughens the skin. Skipping this step means softer, shorter-lived squash that spoils faster.
One pro tip I swear by? Check the stem. When it dries and hardens, that’s your final sign—even if the color isn’t fully vibrant. For summer squash, the stem might still look fresh, but the skin’s dullness is your real indicator.
For winter squash, a dry stem often means the color will deepen further in storage, so don’t rush it.
Proper timing isn’t just about flavor—it’s about preventing waste. Overripe squash rots faster and attracts pests, while underripe squash never reaches its full potential