
Picking
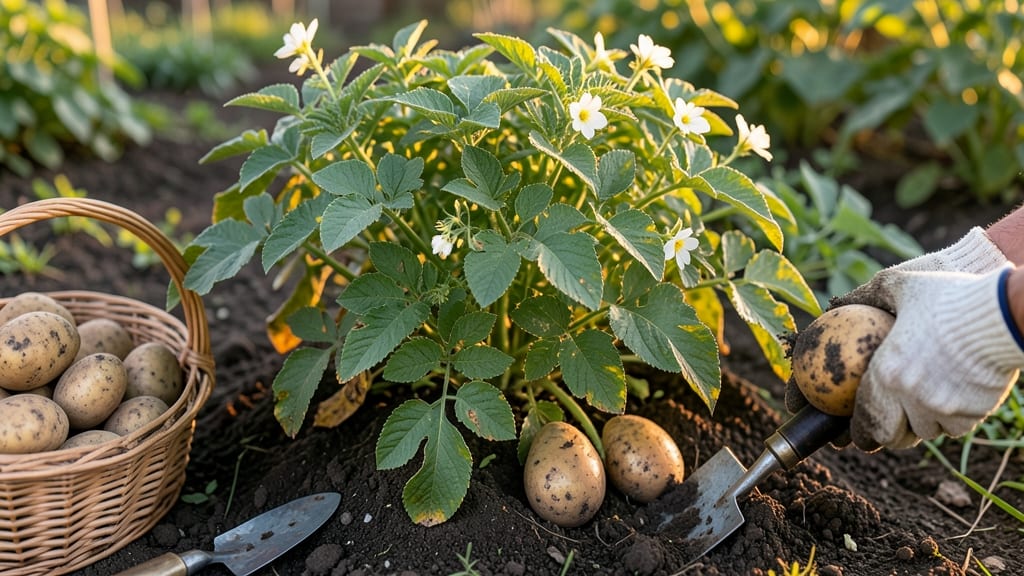
To pick potatoes from your garden at the perfect moment means the difference between fluffy, ready-to-cook tubers and tough, shriveled scraps.
Picture this: you’ve spent weeks nurturing your 🥔, and now the question looms—when is the exact moment to dig? Miss it, and you’re left with either underdeveloped potatoes or ones that’ve turned to mush in the soil.
The right timing isn’t just about days after planting; it’s about foliage color, soil dryness, and a simple finger test that most gardeners overlook.
In Zone 6a, where early varieties start maturing as early as June, the key is watching for yellowing leaves and dry soil. But even late varieties in August need that final check before frost hits.
Below, I’ll walk you through the foolproof signs—including how to tell if your potatoes are just right or still hiding underground.
You’ll learn how to use the finger-press trick, adjust for your local climate, and store your harvest so it lasts through winter. No more guessing—just perfectly timed potatoes every season.
How to test potato maturity using the finger-press method
Knowing exactly when to pick potatoes from your garden can make the difference between a bountiful harvest and wasted effort. The finger-press method is my go-to trick for determining maturity—it’s simple, reliable, and works for both early and late varieties.
This test focuses on the skin resistance of tubers, which changes as they mature. Start testing about 10-14 days after flowering, when tubers begin forming but aren’t fully developed.
The finger-press method isn’t just about pressing your finger into the soil—it’s about reading visual cues first. Before you even test, watch for these signs: yellowing foliage and wilted stems. These indicate the plant is shifting energy from leaves to tubers, a clear signal that harvest time is near.
Early varieties may show these signs as soon as 60-70 days after planting, while late varieties can take up to 120 days.
Here’s how to perform the test correctly: Choose a sunny, dry day (rainy soil makes testing unreliable). Gently brush away loose soil around the base of the plant to expose the top of the tubers. Then, use your fingernail to press lightly into the skin of an exposed tuber.
If the skin resists penetration and doesn’t dent easily, the potato is likely ready. If it gives way like soft clay, wait another week and test again.
Step-by-Step Finger-Press Test
- 🌱 Wait for flowering: Start testing after 10-14 days of flowering, when tubers begin forming.
- 🌿 Choose a dry day: Test on a sunny, dry day to avoid muddy soil interfering with results.
- ✂️ Expose tubers: Gently brush away 2-3 inches of soil around the plant’s base.
- 👆 Press with fingernail: Lightly press your fingernail into the skin of a tuber. If it resists, it’s ready!
- 📏 Compare sizes: Check if tubers are firm and fully sized for your variety (e.g., 2-3 inches for new potatoes).
- ⏰ Stop testing 1-2 weeks before frost: Once nighttime temps drop below 50°F (10°C), harvest immediately.
One common mistake is testing too early or too late. If you press too soon, the skin will dent easily, and the tubers may still be small or underdeveloped.
On the flip side, if you wait too long, the skin toughens excessively, and the potatoes can become woody or sprouted. For storage potatoes, aim to harvest when the skin resists pressure but before the foliage completely dies back.
For new potatoes, you can harvest earlier when tubers are smaller (1-2 inches) and skin is still tender.
Pay attention to the stem end of the tuber—this is another key indicator. When mature, the stem end should turn brown and shriveled, while the green end remains firm. If the stem end stays green, the potato isn’t ready yet.
This visual cue pairs perfectly with the finger-press test for 100% accuracy. Pro tip: If you’re growing multiple varieties, test each one separately since maturity timelines can vary by up to 30 days.
Regional climate plays a role too. In warmer climates (Zones 8-10), potatoes may mature faster, so start testing earlier (around 50 days after planting). In cooler climates (Zones 3-6)70-90 days after planting.
Always factor in your last frost date: Stop testing 2 weeks before frost to avoid cold damage to tubers. If frost hits, harvest immediately—even if the potatoes aren’t fully mature.
For container-grown potatoes, the finger-press method works the same, but tubers mature slightly faster due to warmer soil temperatures. Test by gently tilting the pot to expose the tubers or carefully removing some soil.
If you’re unsure, dig up one plant as a test—this lets you check tuber size and maturity without risking the whole crop. Remember, new potatoes can be harvested earlier (when small), while storage potatoes need that extra week or two of hardening.
Once you’ve confirmed maturity, harvest on a dry, sunny day to allow tubers to dry slightly before storage. Avoid washing potatoes before curing—let them air-dry for 2-3 hours first. Store in a cool, dark place (45-50°F or 7-10°C) with high humidity to prevent shriveling.
With the finger-press method, you’ll never guess when to harvest again—just press, observe, and enjoy your perfectly timed potato harvest!
Soil and weather conditions that signal perfect harvest time
Knowing when to harvest potatoes depends heavily on your soil moisture and weather patterns. The ideal time arrives when your plants show foliage yellowing but haven't yet suffered frost damage. Pay close attention to these environmental cues—they're your garden's way of telling you it's time to dig!
Start monitoring your soil moisture about 2-3 weeks before your region's first frost date. When the soil feels dry 2-3 inches deep but still holds moisture, it's often the perfect window. This dryness signals that the tubers have stopped growing and are ready for harvest.
Temperature thresholds also play a critical role. Potatoes thrive in 60-75°F (15-24°C) soil temperatures. If nighttime temps drop below 50°F (10°C), growth slows, and tubers become less sweet. Conversely, early frosts can damage foliage but may not harm tubers already in the ground.
Here’s a quick reference for the key conditions to watch:
| Condition | Ideal Specification | Action |
|---|---|---|
| Soil Moisture | Dry 2-3" deep | Harvest tubers |
| Soil Temperature | 60-75°F (15-24°C) | Monitor for drops |
| Foliage Color | Yellowing, wilting | Stop watering, dig |
| Frost Risk | Before hard frost | Harvest early varieties |
| Tuber Size | Variety-specific maturity | Use finger-press test |
If you're in a warmer climate (zones 8-10), potatoes may continue growing year-round, but their flavor and texture often peak in cooler months. In these regions, aim to harvest when daytime highs drop below 80°F (27°C)—this triggers natural sweetening in the tubers.
Late frosts can be tricky. If a light frost (below 32°F/0°C) hits but the ground stays above freezing, your potatoes may still be safe. However, a hard frost (below 28°F/-2°C) can damage tubers. Always err on the side of caution and harvest 1-2 weeks before the first expected frost.
Finally, remember that storage life depends on harvest timing. Tubers picked too early may sprout prematurely, while those left too long develop tough skins and poor flavor. Aim for a balance—dig when the soil signals readiness, and you’ll enjoy perfectly stored potatoes all winter long! 🥔