
Watering
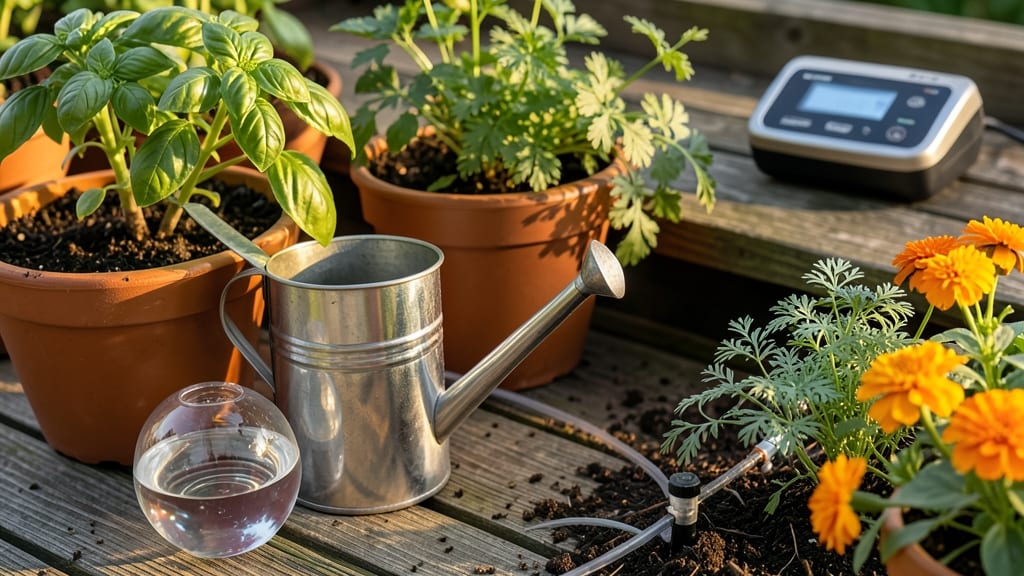
To water your garden while away, you need a mix of smart systems and simple prep that keeps General Garden Plants 🌱 happy without you hovering over them.
Picture this: you’re back from vacation, and your tomatoes are still plump, your herbs haven’t wilted, and not a single leaf is crispy. That’s the magic of setting up the right watering game plan—whether you’re gone for a weekend or a month.
Automated drip irrigation, self-watering pots, and even DIY hacks like buried bottles can turn your garden into a low-maintenance oasis. Below, I’ll walk you through the best tools, how to prep your soil, and the one mistake that ruins everything—even with the best system in place.
By the end, you’ll know exactly which methods work for your plants, how to test soil moisture before you leave, and how to troubleshoot leaks or overwatering so your garden survives—and thrives—without you.


Best automated watering systems for long-term garden care
When planning a vacation or long work trip, the last thing you want to worry about is whether your tomatoes or roses will survive without your daily watering routine. Automated watering systems solve this problem by delivering precise moisture to your plants on a schedule, even when you're away.
These systems save time, conserve water, and keep your garden looking its best with minimal effort.
Not all systems are created equal, though. Some work better for vegetable gardens, while others excel with flower beds or shrubs.
Below, I’ll break down the top three options—drip irrigation, smart sprinklers, and soaker hoses—so you can choose the best fit for your garden’s needs and your budget.
Drip irrigation is my go-to for vegetable gardens because it delivers water directly to the roots, reducing waste and preventing fungal diseases. Smart sprinklers offer convenience with app-controlled scheduling, while soaker hoses are ideal for established flower beds and shrubs. Each has its own strengths, so let’s compare them side by side.
| System Type | Best For | Setup Cost | Ease of Use | Water Efficiency | Maintenance |
|---|---|---|---|---|---|
| Drip Irrigation | Vegetables, herbs, containers | $50-$200 | Moderate (requires tubing setup) | High (direct root delivery) | Low (check for clogs) |
| Smart Sprinklers | Lawns, large flower beds | $100-$400 | Easy (app-controlled) | Moderate (can be wasteful) | Moderate (battery/weather checks) |
| Soaker Hoses | Shrubs, perennials, flower beds | $30-$150 | Easy (lay and connect) | High (slow, deep watering) | Low (no moving parts) |
For vegetable gardens, I recommend drip irrigation because it targets water directly to the roots, which is crucial for plants like peppers and tomatoes. This method also minimizes water waste and reduces the risk of fungal diseases that thrive in damp foliage.
If you’re growing herbs in containers, a simple drip system with emitters can be set up in under an hour.
Smart sprinklers are perfect if you have a large lawn or flower beds that need consistent coverage. Systems like the Rachio or Orbit B-Hyve allow you to control watering via an app, adjusting schedules based on weather forecasts. This is a great option if you want hands-off convenience, but be mindful of water waste—sprinklers can overwater if not properly calibrated.
If your garden features shrubs or perennials, a soaker hose is a cost-effective and low-maintenance solution. These hoses slowly release water along their length, keeping the soil evenly moist without wetting the leaves.
They’re especially useful for established plants that don’t need frequent watering. For example, roses and lavender thrive with the steady moisture a soaker hose provides.
Before investing in an automated system, consider your garden’s specific needs. Vegetables and herbs often require more frequent, targeted watering, while flowers and shrubs can tolerate longer intervals between waterings.
Test your soil’s moisture retention by digging a small hole and checking how quickly it drains—this will help you determine the right system for your space.
One common mistake is overwatering, which can lead to root rot or nutrient leaching. Always start with a conservative watering schedule and adjust based on your plants’ response.
For example, if your tomatoes show signs of wilting after a few days, increase the frequency slightly. Conversely, if the soil feels soggy, reduce the watering time.
For added peace of mind, pair your automated system with a moisture sensor or two. These inexpensive devices (often under $20) can be buried near your plants to alert you if the soil is too dry or too wet.
Some even connect to your phone, sending notifications so you can adjust settings remotely. This extra layer of monitoring ensures your garden stays healthy, even when you’re not there to check on it.
Finally, don’t forget to mulch! A thick layer of organic mulch (like straw or wood chips) helps retain moisture and regulate soil temperature, reducing the workload on your automated system.
Mulching also suppresses weeds, which compete with your plants for water and nutrients. Aim for a 3-inch layer around your plants for the best results.
With the
DIY smart watering hacks to save money and stress
When you're away, your garden doesn’t have to dry out. DIY smart watering can save you money while keeping your plants hydrated. These budget-friendly hacks use simple materials like recycled containers, moisture sensors, and repurposed household items to create low-cost automated systems.
No fancy tools required—just creativity and a little planning!
Start with self-watering pots made from plastic bottles or buckets. These systems store water at the base of the plant, releasing it slowly through a wick or small holes. For larger gardens, moisture sensors with timers (like those from old sprinkler systems) can trigger watering when the soil dries out.
Even a DIY drip irrigation setup using PVC pipes and emitters can work wonders for vegetable gardens or flower beds.
Poke small holes in a 2-liter plastic bottle, bury it near the plant base, and fill it with water. The bottle releases moisture as the soil absorbs it—ideal for herbs or succulents.
Cut a cotton rope or old sock into strips, place one end in a water reservoir (like a bucket) and the other in the potting soil. The wick draws water up, keeping soil moist for up to 2 weeks.
Use a capacitive soil moisture sensor (available cheaply online) connected to a timer-based sprinkler. Bury the sensor in the root zone—it triggers watering when soil dries below 40% moisture.
Repurpose an old watering can or tin can by drilling holes in the lid. Place it upside-down over the plant, filling it with water. The holes regulate flow, perfect for seedlings or small shrubs.
Cut PVC pipes into 6-inch lengths, drill small holes, and connect them to a hose timer. Bury the pipes near plant roots—water drips slowly, reducing waste by 30% compared to overhead sprinklers.
For herb gardens or container plants, a DIY wick system is my go-to. Soak a terry cloth strip in water, place one end in a reservoir, and tuck the other into the soil.
This method keeps basil or mint thriving for 10+ days without extra effort. The key is testing each system before your trip—adjust water flow based on your climate and plant types.
Don’t overlook mulch as a water-retention hack. A 3-inch layer of straw or wood chips around plants reduces evaporation by up to 50%, cutting water needs in half. Pair mulch with your DIY system for double the protection.
For succulents or cacti, skip the mulch—they thrive with minimal moisture and need well-draining soil to avoid rot.
Finally, monitor soil moisture before leaving. Stick your finger 2 inches deep—if it’s dry, water thoroughly the day before your trip. For longer absences, combine two methods (e.g., wick system + mulch) to maximize coverage.
With these low-cost, high-impact hacks, your garden stays lush while you relax—no stress, no guilt! 🌱