
Planting
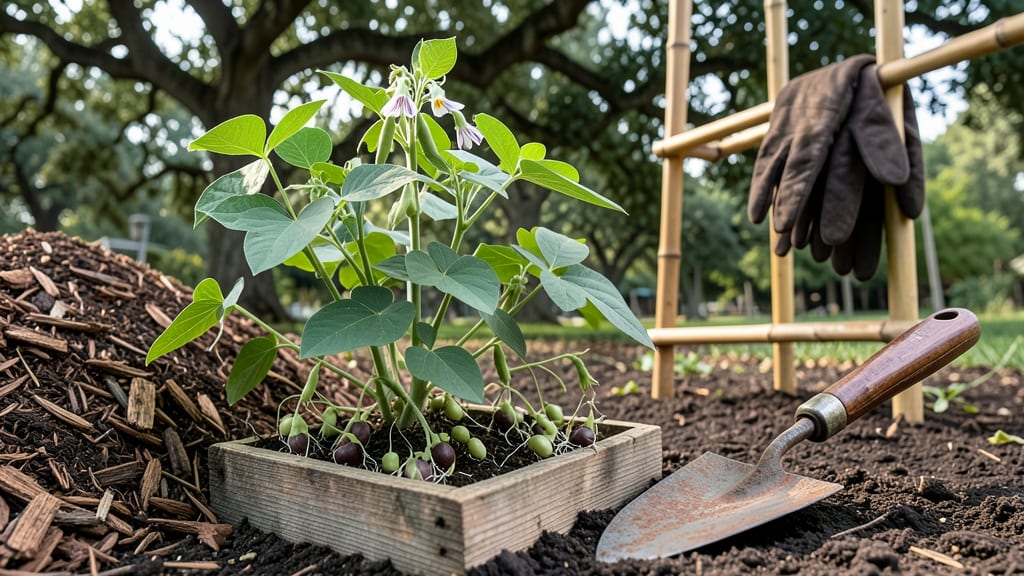
To plant string beans in a garden, start with seeds sown 1 inch deep in warm soil after the last frost — a 50-day wait will reward you with tender pods all summer.
Picture this: you’re checking the garden in early July, and there they are — rows of string beans 🌱 climbing toward the sun, ready to pick. But here’s the catch: get the spacing or sunlight wrong, and you’ll end up with scraggly plants or no harvest at all.
I’ve made that mistake (twice), and I’m here to save you the same frustration.
String beans thrive in full sun and well-draining soil, but their real secret lies in the details: spacing rows 18-24 inches apart, pairing them with the right companions, and keeping the soil moist without drowning the roots.
Skip these steps, and you’ll miss out on the bountiful harvest you’re dreaming of.
In this guide, I’ll walk you through every step — from picking the perfect spot to watering like a pro — so your string beans grow strong, produce early, and keep yielding until fall. No guesswork, just results.
Perfect planting conditions: soil, sunlight, and climate requirements for string beans
String beans thrive when given the right growing conditions, and getting these fundamentals right is the key to a bountiful harvest. Unlike some finicky vegetables, string beans are forgiving but still demand specific soil composition, sunlight exposure, and climate timing to reach their full potential.
I’ve learned from years of trial and error that even small mistakes—like planting too early or in heavy clay soil—can drastically reduce yields. Let’s break down exactly what your string beans need to flourish.
First, the soil pH for string beans should ideally range between 6.0 and 7.0. This slightly acidic to neutral range ensures the plants can efficiently absorb essential nutrients like nitrogen and phosphorus.
If your soil tests outside this range, don’t panic—amending it with compost or lime (for acidic soil) or sulfur (for alkaline soil) can quickly adjust the pH. I always recommend testing your soil before planting, as even a 0.5 pH difference can impact nutrient uptake and plant health.
Next, sunlight exposure is non-negotiable for string beans. These plants are sun worshippers and require 6 to 8 hours of direct sunlight daily. In my garden, I’ve noticed that even partial shade can lead to leggy plants with fewer pods.
If you’re in a region with intense afternoon sun, consider using light shade cloth during the hottest hours, but never reduce sunlight below 5 hours. For those in cooler climates, a south-facing garden bed is your best bet to maximize sunlight.
Now, let’s talk climate and planting seasons. String beans are warm-season crops, meaning they despise cold temperatures. Plant them only after the last frost date in your area—typically USDA Zones 4-10 can grow string beans, but timing varies.
In my Zone 6 garden, I wait until mid-May when soil temperatures consistently reach 60°F or higher. Early planting in cool soil leads to slow germination and stunted growth.
For a second harvest, you can plant a heat-tolerant variety like ‘Blue Lake’ in late summer for a fall crop, but avoid planting when night temperatures drop below 55°F.
One of the most common mistakes I see is poor soil drainage, which can lead to root rot and stunted growth. String beans hate soggy feet! If your garden has heavy clay soil, mix in organic matter like compost or coconut coir to improve drainage.
A simple test: Dig a hole, fill it with water, and time how long it takes to drain. If it’s still wet after 6 hours, your soil needs amending. Well-draining soil also prevents fungal diseases, which are a nightmare for string beans.
Let’s address climate-specific challenges. In hot, dry climates (like Zones 8-10), string beans can struggle with blossom drop due to heat stress. To combat this, I’ve had success using mulch around the base to retain moisture and drip irrigation to keep roots cool.
In cooler climates (Zones 4-5), focus on early-maturing varieties like ‘Contender’ or ‘Blue Lake’ to harvest before the first frost. If you’re in a short-season area, consider starting seeds indoors 2-3 weeks before the last frost for a head start.
Finally, don’t overlook the importance of soil nutrients. String beans are nitrogen-hungry but also need phosphorus for root development. Before planting, mix in 1-2 inches of compost or a balanced organic fertilizer (like 10-10-10). I avoid heavy nitrogen fertilizers later in the season, as they can lead to excessive
Step-by-step planting guide: from seeds to soil with proper spacing and depth
Planting string beans correctly is the foundation for a bountiful harvest. Whether you're direct sowing seeds or transplanting young plants, precise spacing and depth ensure strong roots and abundant pods. I’ll walk you through both methods, plus companion planting tricks to keep pests at bay and maximize your yield.
String beans thrive when planted after the last frost, once soil temperatures reach 60°F or warmer. This usually lands in late April or May for most U.S. regions. If you’re in a cooler zone, opt for bush varieties—they mature faster and tolerate chilly soils better than vining types.
Before you begin, gather these tools: a hand trowel, plant markers, and a measuring tape. For direct sowing, you’ll also need bean seeds (soaked overnight for faster germination) and a row marker to maintain proper spacing. Let’s dive into the step-by-step process!
- 1
- 2
- 3
- 4
- 5
- 6
- 7
Proper spacing isn’t just about aesthetics—it’s critical for airflow, which prevents fungal diseases like rust or powdery mildew. Crowded plants compete for nutrients, leading to stunted growth and fewer pods. For vining varieties, consider trellising to save space and improve yield by keeping plants upright and off the ground.
Once your beans sprout (usually in 7–14 days), thin them to the strongest plant per hill. This might seem harsh, but it ensures the remaining plants have plenty of nutrients and room to grow. You can even use the thinned seedlings in salads—they’re packed with flavor!
With these steps, your string beans will be on their way to a lush, productive harvest. Remember, consistency is key—water regularly, mulch well, and harvest frequently to keep production going all season. Happy planting! 🌱