
Fertilization
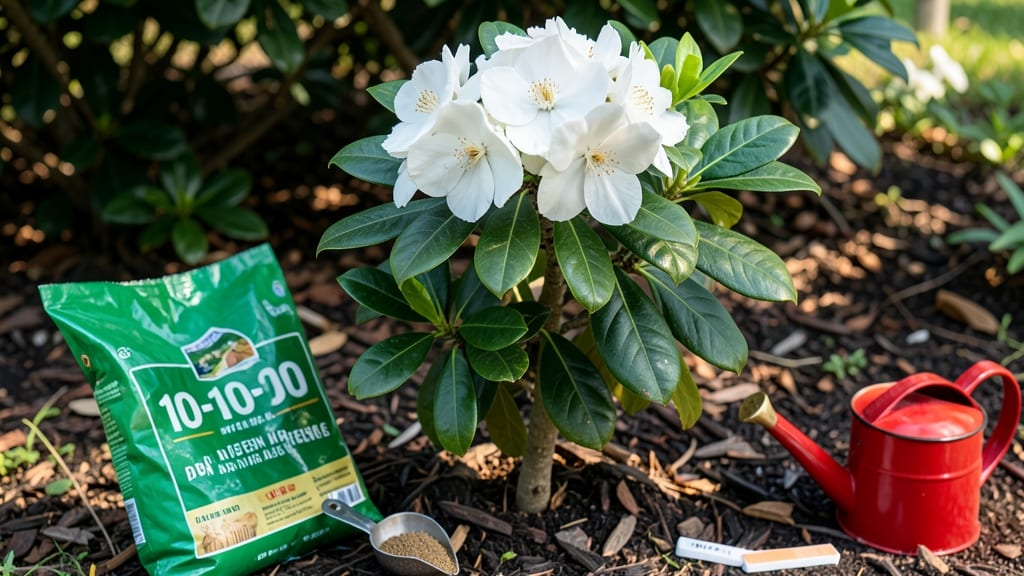
Mastering the gardenia fertilizer ratio is the key to unlocking those fragrant, show-stopping blooms that make your garden smell like a tropical paradise.
Picture this: you’ve spent months nurturing your 🌸 gardenia, only to be met with lush green leaves and zero flowers. That’s a classic sign your fertilizer mix is off—too much nitrogen, not enough phosphorus, or a lack of micronutrients that gardenias crave.
The right balance isn’t just about numbers; it’s about timing, soil pH, and knowing when to feed (and when to stop).
Gardenia thrives in General (Tropical/Subtropical) zones 10-11, where the climate mimics its natural habitat. But even in ideal conditions, a wrong fertilizer ratio can turn your prized shrub into a leafy monster with no blooms.
Below, I’ll break down the exact N-P-K ratios for each growth stage, organic vs. synthetic options, and the 3 mistakes that kill blooms before they even form.
Ready to transform your gardenia from "meh" to "wow"? Let’s dive into the science—and the simple steps—to get your plant blooming like crazy, year after year.
Optimal gardenia fertilizer ratio: N-P-K breakdown for maximum blooms
Gardenia plants thrive when their fertilizer ratio matches their growth needs—especially during foliage development versus blooming phases. Most gardeners overlook this balance, leading to lush leaves but no fragrant flowers.
The key lies in understanding how nitrogen (N), phosphorus (P), and potassium (K) interact to fuel your gardenia’s life cycle.
For example, a 6-6-6 ratio is a common starting point, but gardenias—being acid-loving shrubs—often respond better to a lower nitrogen approach once buds form. This shift prevents excessive leafy growth at the expense of blooms.
Let’s break down the science behind these ratios and how to apply them seasonally for year-round fragrance.
| Growth Stage | Recommended NPK Ratio | Key Nutrient Focus | Seasonal Timing |
|---|---|---|---|
| Early Spring (New Growth) | 8-3-9 or 10-10-10 | Moderate nitrogen + potassium | March–April |
| Blooming Season (Spring–Summer) | 5-10-10 or 6-12-12 | High phosphorus + potassium | May–August |
| Post-Bloom (Summer–Fall) | 4-3-6 or 5-5-5 | Balanced nutrients, low nitrogen | September–October |
| Winter Dormancy (Frost-Free Zones) | 0-0-0 (No fertilizer) | Rest period, no feeding | November–February |
The N-P-K numbers on fertilizer bags can be confusing, but they directly impact your gardenia’s health. For instance, a 10-10-10 ratio means equal parts nitrogen, phosphorus, and potassium by weight.
However, gardenias often reject high-nitrogen fertilizers during blooming, as excess nitrogen promotes foliage over flowers. Instead, opt for a phosphorus-rich formula (like 5-10-10) when buds form to encourage robust blooms.
Reading fertilizer labels is simpler than it seems. The first number (nitrogen) fuels leaf growth, the second (phosphorus) supports root and flower development, and the third (potassium) boosts disease resistance and overall plant vigor.
For gardenias, phosphorus and potassium are your best friends during the blooming season, while nitrogen should be reduced by 50% once buds appear.
Seasonal adjustments are critical. In early spring, when your gardenia is pushing new growth, a moderate nitrogen ratio (like 8-3-9) helps build a strong framework. But by late spring, switch to a high-phosphorus formula (e.g., 6-12-12) to trigger blooming.
This shift mimics the plant’s natural cycle and prevents wasted energy on unnecessary foliage.
Micronutrients like magnesium and iron also play a role, but they’re secondary to the N-P-K balance. If your gardenia’s leaves turn yellow between the veins, it’s likely a magnesium deficiency, which can be fixed with Epsom salt (1 tbsp per gallon of water, applied monthly).
However, this is a corrective measure, not a replacement for proper NPK ratios.
Organic options like composted manure or bone meal can complement synthetic fertilizers. Bone meal, for example, is high in phosphorus (4-12-0), making it ideal for gardenias during the blooming phase.
Mix it into the soil in early spring and again when buds form. For potted gardenias, use a slow-release granular fertilizer to avoid nutrient spikes that can burn roots.
Over-fertilizing is a common mistake that leads to leaf burn or stunted blooms. Always follow the label instructions and reduce the recommended dose by 30-50% for gardenias. For example, if a bag suggests 1 tbsp per plant, use ½ tbsp instead.
Water thoroughly after applying fertilizer to help nutrients penetrate the soil and prevent salt buildup.
To maximize blooms, pair your fertilizer routine with regular pruning after flowering. This encourages new growth and sets the stage for next year’s blooms. Combine this with consistent moisture (but never soggy soil) and partial shade, and you’ll have a gardenia that rewards you with fragrant blooms year-round.
Step-by-Step guide: how to apply gardenia fertilizer ratios correctly
Getting your gardenia to produce those fragrant, show-stopping blooms requires more than just water and sunlight—it’s all about the fertilizer ratio and how you apply it. Gardenias thrive on a balanced but acidic feeding schedule, and even a slight misstep can lead to yellow leaves or no flowers.
Let’s break down the exact steps to fertilize your gardenia like a pro, whether you’re using organic compost or a synthetic NPK blend.
First, always check your gardenia’s soil pH before fertilizing—gardenia roots hate alkaline soil. Aim for a pH between 5.0 and 6.5. If your soil is too high, mix in sulfur or peat moss to acidify it 2–4 weeks before fertilizing.
Once your soil is ready, follow these steps to apply the perfect gardenia fertilizer ratio for lush foliage and abundant blooms.
- 🌱 Step 1: Choose Your Fertilizer
Opt for a balanced 10-10-10 NPK or an acid-loving blend like 8-3-9. For organic options, use composted manure or bone meal (high in phosphorus for blooms). - 🌿 Step 2: Prep the Soil
Loosen the top 6 inches of soil around your gardenia. If repotting, use a peat-based potting mix to maintain acidity. Avoid fresh mulch right before fertilizing. - ✂️ Step 3: Apply Fertilizer
For granular fertilizer, sprinkle 1 tbsp per plant in spring and ½ tbsp in summer. For liquid fertilizer, dilute to half-strength and water thoroughly. - 💧 Step 4: Water Deeply
Immediately water the soil to 12 inches deep to activate the fertilizer. Avoid overhead watering to prevent leaf burn from concentrated nutrients. - 📅 Step 5: Schedule Feedings
Feed every 4–6 weeks in spring/summer (growing season). Skip fertilizing in fall/winter—gardenia rests during cooler months. - 👀 Step 6: Monitor for Signs
Watch for yellow leaves (over-fertilizing) or no blooms (under-fertilizing). Adjust ratios or frequency as needed—gardenia blooms need more phosphorus!
When applying liquid fertilizer, always dilute it to half the recommended strength—gardenia roots are sensitive to salt buildup. I like to use a spray bottle for potted gardenias to evenly distribute nutrients without over-saturating the soil.
For granular fertilizers, scatter them evenly around the drip line (not the trunk) and gently scratch into the topsoil.
One of the biggest mistakes I see is over-fertilizing in summer, which leads to leafy growth but no flowers. Gardenias need less nitrogen in summer to focus energy on blooming.
Switch to a low-nitrogen, high-phosphorus fertilizer (like 6-12-6) during bloom season. Also, never fertilize stressed plants—wait until they’ve recovered from pruning or transplanting.
If your gardenia’s leaves turn yellow with brown tips, it’s a sign of over-fertilization or salt buildup. Flush the soil with water for 15 minutes to leach out excess salts, then reduce fertilizer strength by half.
For under-fertilized gardenias (small leaves, no blooms), increase phosphorus with a bone meal application in early spring.