
Tools
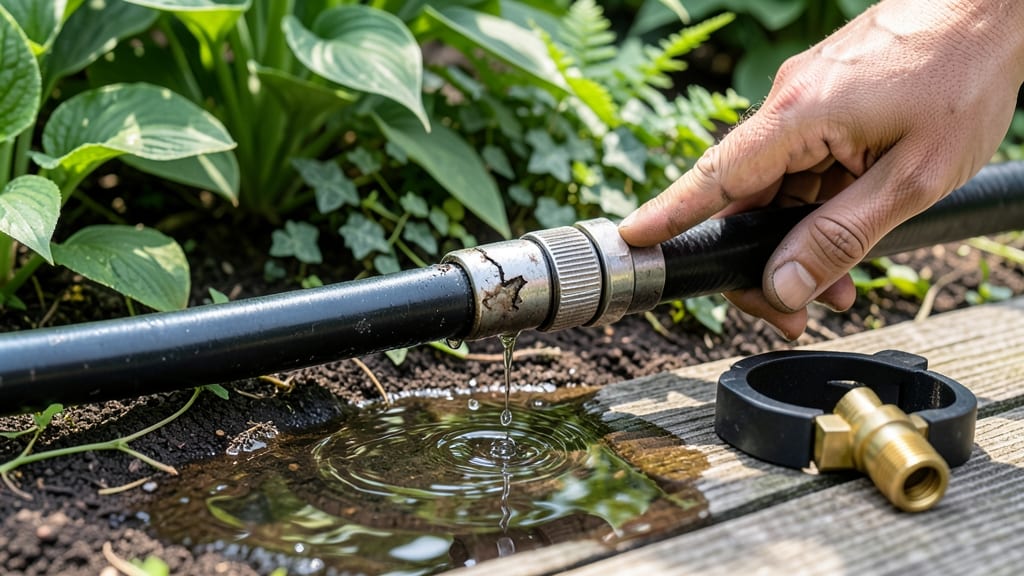
A garden hose leaking at the swivel usually means the rubber gasket is worn or the connection isn't tight enough. Fix it fast by tightening the coupling, swapping out the gasket, or wrapping the threads with hose seal tape to stop the water flow and save gallons.
A leaking swivel is often the result of pressure pushing water through tiny gaps where the hose meets the coupling. Over time, the rubber gasket loses elasticity, while plastic parts may crack under repeated use. 🔥 The good news?
Most fixes take less than 10 minutes and require basic tools. I've seen leaks disappear completely after just a few turns of seal tape or a new gasket—no need for a full replacement unless the threads are stripped.
For stubborn leaks, start by turning off the water and disconnecting the hose. Inspect the gasket for cracks or flattening—if it looks dry or brittle, that's your culprit. A ¼-turn wrench can tighten loose connections, but don't overdo it or you'll strip the threads.
If the gasket is the issue, most hardware stores sell replacements for under $5, and they're worth the investment to avoid wasting water.
💡 In This Article
- Why Garden Hose Swivels Leak: Common Causes and Mechanics
- Step-by-Step Fixes for a Leaking Garden Hose Swivel
Why garden hose swivels leak: common causes and mechanics
The swivel connection in your garden hose is designed to handle 40-80 psi of water pressure, but leaks occur when this pressure finds weak points. The most common culprit is the rubber gasket—a 1/8-inch thick ring that seals the gap between the hose and coupling.
Over time, this gasket dries out, cracks, or loses its elasticity, leaving tiny gaps where water escapes. Think of it like a weatherstripping on a door: when it hardens, drafts (or leaks) sneak through.
Material matters too. Most gaskets are made of nitrile rubber, which degrades faster under UV exposure or extreme temperatures (below 32°F or above 120°F). Plastic couplings can also warp or develop micro-cracks from repeated twisting, especially if they're made of low-grade PVC.
Even a 1/32-inch gap can waste 5 gallons per hour, turning a small leak into a costly habit over time. The pressure inside the hose forces water through these openings like a straw siphoning soda.
Improper assembly is another hidden cause. If the swivel wasn't tightened evenly during installation, the gasket gets compressed unevenly, creating weak spots. Some DIYers also forget to align the hose threads properly, causing a 10-15° twist that prevents full contact.
This misalignment is like trying to seal a jar lid crooked—no matter how tight you screw it, gaps remain. Even slight misalignments can lead to leaks, especially under high pressure.
Seasonal changes play a role too. Cold weather makes rubber brittle, while heat causes it to expand and lose grip. I've seen leaks appear in spring after a winter of frozen hoses, where the gasket shrinks and pulls away from the coupling.
The same happens in summer when hoses bake in the sun for hours. This is why many gardeners store hoses in shaded areas or use UV-resistant vinyl hoses—they last 3-5 years longer than standard rubber-coated models.
Don't overlook the threads themselves. Over time, the metal threads inside couplings can corrode or strip, especially if the hose was left connected during freezing temperatures. Rust buildup acts like sandpaper, wearing down the gasket faster.
In these cases, even a new gasket won't help—you'll need to replace the entire coupling. This is why it's smart to inspect both the gasket and threads when troubleshooting leaks.
Here's what's actually happening at a microscopic level: Water molecules force their way through the tiniest imperfections in the seal. The higher the pressure, the more determined they become—like a crowd pushing through a gap in a fence.
This is why leaks often worsen when you first turn on the water; the initial surge creates a "water hammer" effect that pries open weak spots. 💫