
Tools
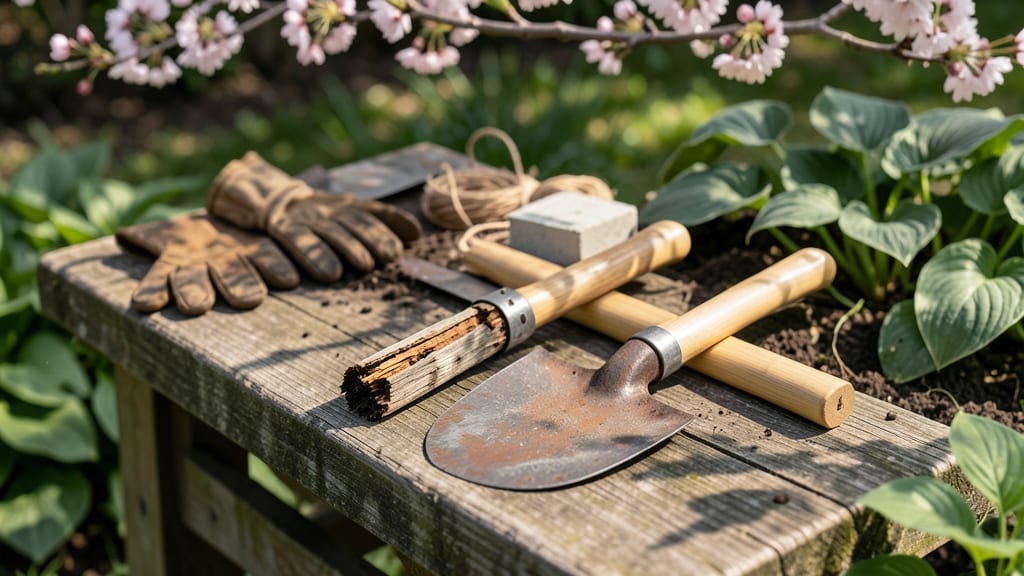
A garden hoe handle replacement can save your gardening session when a broken handle turns a simple weeding task into a frustrating chore. Picture this: you're mid-way through clearing weeds, and suddenly, the handle snaps—leaving you with a useless tool and a pile of dirt to deal with.
The good news? Swapping out a worn or damaged handle is easier than you think, and you don’t need to be a handyman to do it.
Whether you’re using a wooden, fiberglass, or aluminum handle, the process is straightforward with the right tools and a little patience. You’ll learn how to remove the old handle safely, choose the perfect replacement for your hoe, and secure it so it lasts through multiple gardening seasons.
No more wasted time or energy—just a quick fix that gets you back to cultivating your garden in no time.
In this guide, I’ll walk you through step-by-step instructions, including the tools you’ll need and tips for ensuring a snug fit. You’ll also discover cost-effective alternatives if you’re on a budget or can’t find a replacement that matches your hoe exactly.
By the end, you’ll feel confident tackling any handle-related issues like a pro.
Ready to get back to gardening without the hassle? Let’s dive in and make that garden hoe handle replacement a breeze—so you can focus on what really matters: growing your plants and enjoying your outdoor space.
How to choose the right garden hoe handle replacement
A garden hoe is only as good as its handle. When yours cracks, splinters, or becomes too slippery, it’s time for an upgrade. But with wood, fiberglass, and aluminum options available, how do you pick the perfect replacement?
The right choice depends on your hoe type, grip preference, and durability needs. Let’s break down the key factors to consider before buying.
First, identify your hoe head type. Most garden hoes have either a D-handle (for standard hoes) or a socket-style attachment (common on stout hoes). Measure the shaft diameter where the handle connects—most replacements range from 5/8" to 1".
A tape measure or caliper ensures you get a snug fit, preventing wobbling during use.
Next, think about your grip comfort. Wood handles offer a classic feel but require seasoning to prevent splinters. Fiberglass handles are lightweight and resistant to rot, while aluminum handles provide durability and a modern look.
If you garden in wet conditions, aluminum or fiberglass will outlast wood, which can warp or crack over time.
Durability is another critical factor. Aluminum handles resist moisture and pests, making them ideal for humid climates. Fiberglass handles won’t splinter like wood but may feel less tactile. For heavy-duty work, look for handles with ergonomic grips or textured surfaces to reduce hand fatigue during long gardening sessions.
Don’t overlook the length of the handle. Standard lengths range from 24" to 36". Taller gardeners or those with back issues may prefer longer handles for leverage, while shorter handles offer better control for precision tasks like weeding between rows.
Pro tip: Check if your hoe uses a wedge-and-socket system or a screw-in mechanism. Wedge-style handles require a wooden or rubber wedge to secure the fit, while screw-in handles need a compatible bolt. Always test-fit the handle before finalizing your purchase to avoid returns.
If you’re unsure about compatibility, bring your hoe to a garden center. Staff can often match you with the right handle or even custom-cut one for you. For DIYers, a hacksaw and sandpaper can trim a slightly oversized handle to perfection.
Finally, consider anti-slip grips or foam padding if you have arthritis or sweaty hands. These small upgrades can make a big difference in comfort during long gardening sessions. With the right handle, your hoe will feel like new again, ready to tackle weeds and cultivate soil with ease.
Now that you’ve chosen the perfect handle, the next step is installation. Stay tuned for our step-by-step guide on removing old handles and securing new ones—no special tools required!
Step-by-step guide: removing old handles and installing new ones
Replacing a broken garden hoe handle is easier than you think, and most repairs take less than five minutes with the right approach. Start by gathering your tools: a pair of locking pliers, a rubber mallet, and a new handle that matches your hoe’s specifications.
Safety first—wear gloves to protect your hands from splinters or sharp metal edges.
Before diving in, inspect the old handle for any remaining screws, wedges, or epoxy that might complicate removal. If the handle is cracked or splintered, you’ll need to work carefully to avoid damaging the hoe head.
Most modern hoes use either screw attachments or wooden wedges, so knowing your hoe’s design will save time.
Step-by-Step Guide to Replacing Your Garden Hoe Handle
- Step 1: Loosen the old handle by removing any visible screws or bolts with a wrench or pliers. If the handle is wedged in, tap it gently with a rubber mallet to loosen.
- Step 2: Use locking pliers to grip the handle near the hoe head and twist counterclockwise to break any adhesive or friction fit. For stubborn handles, insert a wooden wedge between the handle and head, then tap it with the mallet.
- Step 3: Clean the attachment socket with a wire brush to remove old glue, dirt, or rust. This ensures your new handle fits snugly and securely.
- Step 4: Slide the new handle into place, aligning it with the socket holes. If using screws, insert them diagonally first to secure the handle before tightening fully.
- Step 5: For epoxy-secured handles, apply a thin layer of two-part epoxy to the socket, insert the handle, and clamp it in place for 24 hours to cure completely.
- Step 6: Test the fit by gripping the handle and giving it a firm tug. If it wobbles, add a second screw or a dab of epoxy for extra security.
If your new handle feels loose after installation, don’t panic—this is often due to slight variations in handle diameter. For a permanent fix, apply a small amount of wood glue or epoxy around the base of the handle before tightening screws.
Let it dry according to the product instructions before using your hoe again.
For wooden handles, consider treating them with a waterproof sealant to extend their lifespan, especially if you garden in wet conditions. This simple step can prevent future handle rot and make your hoe last for years.
Pro tip: Keep a spare handle on hand for quick repairs during gardening season. Store it in a dry place, away from direct sunlight, to maintain its integrity until you need it.
With your new handle securely in place, you’re ready to tackle weeds and cultivate your garden with confidence. A little maintenance now means fewer interruptions later—happy gardening! 🌱