
Pruning
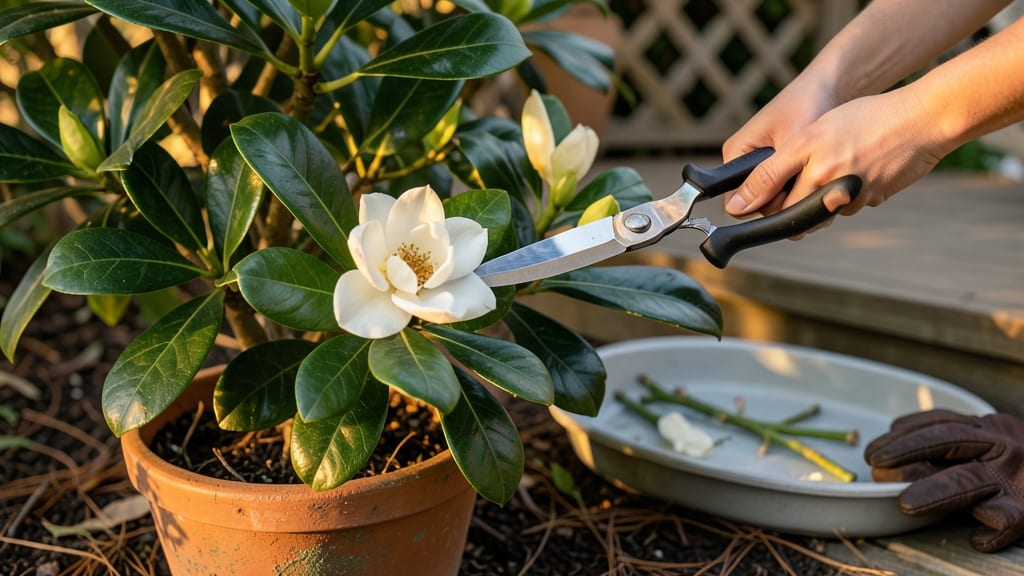
Trimming gardenias at the right time can double your blooms next season—late winter dormancy is the best time to trim gardenias for healthy growth and fragrant flowers.
Struggling to get your gardenias to bloom year after year? The secret might be hiding in your pruning schedule—timing is everything for these fragrant favorites. 🌸
Most gardeners wait until spring, but pruning during late winter dormancy (January to early February in USDA Zones 8-11) gives your shrubs a head start on new growth. This is when gardenias naturally slow down, making it the ideal window to shape them without stress.
In this guide, I’ll walk you through the exact steps to trim your gardenias for maximum blooms, including how to spot signs they need pruning and what tools to use. By the end, you’ll know exactly when—and how—to prune for a showstopping spring display.
Why late winter dormancy is the ideal time to trim gardenias
If your gardenias are struggling to produce those luxurious white blooms you love, the issue might be your pruning timing. Late winter dormancy—typically January to February—is the perfect window to give your gardenias a fresh start.
During this period, plants are naturally resting, making them less stressed from cuts and better equipped to rebound with vigor in spring.
This timing isn’t just a gardening hack—it’s rooted in plant biology. When gardenias enter dormancy due to cooler temperatures, their growth slows, and they conserve energy.
Pruning during this low-activity phase minimizes stress hormones like ethylene, which can delay new growth or even stunt blooming if pruned at the wrong time.
The scientific reason behind late winter pruning is hormonal stimulation. When you trim dead or overgrown branches during dormancy, you’re encouraging the plant to redirect its energy toward new, healthy growth and flower bud formation as temperatures rise.
This is why gardenias pruned in late winter often bloom more abundantly in spring compared to those pruned in summer or fall.
But here’s the catch: Climate matters. Gardenias thrive in USDA zones 7-10, but the ideal pruning window shifts slightly depending on your local frost patterns. In warmer zones (8-10), where winters are mild, prune in late January to early February.
In cooler zones (7), wait until after the last frost, usually mid-to-late February.
Pruning during dormancy also reduces disease risk. Wet foliage and warm temperatures in spring or summer create the perfect conditions for fungal infections like powdery mildew or botrytis blight. By removing old, diseased wood in late winter, you’re preventing pathogens from spreading when the plant is most vulnerable.
Another key benefit of late winter pruning is improved air circulation. Dense gardenias can trap moisture inside their foliage, leading to fungal issues or pest infestations.
Thinning out branches during dormancy opens up the plant, allowing sunlight and air to reach the center. This reduces humidity buildup and promotes healthier foliage.
One common misconception is that gardenias should be pruned after they bloom. While this is true for light shaping, aggressive pruning post-bloom can remove next year’s flower buds, which form on old wood. Late winter pruning targets dead wood and overgrowth without sacrificing future blooms.
To maximize results, pair late winter pruning with acidic fertilizer (like 16-4-8) in early spring. This boosts nutrient uptake as new growth begins, enhancing bloom production. Avoid high-nitrogen fertilizers in late winter, as they promote leafy growth at the expense of flowering.
Finally, observe your gardenia’s natural cycle. If it’s already sending out new shoots by late February, it’s time to prune. If it’s still bare and dormant, wait another 2-3 weeks.
The goal is to prune just before the plant wakes up for the season, ensuring it rebounds with energy—not stress.
🌸
Step-by-step late winter pruning guide for maximum blooms
Late winter is the perfect time to prune your gardenias for vibrant spring blooms. When you trim during dormancy (January-February), you encourage new growth and remove dead or weak branches that could steal energy from flowering.
This guide will walk you through every step, from identifying dead wood to making clean cuts for healthier plants.
Before you begin, gather your essential tools: bypass pruners for clean cuts, a sterilizing solution (like rubbing alcohol), and gardening gloves to protect your hands from thorns.
Gardenias respond best to structured pruning, so we’ll focus on shaping, thinning, and rejuvenating your shrub for maximum impact. Let’s get started!
🌿 Step-by-Step Late Winter Pruning Guide
-
Step 1: Identify Dead or Diseased Wood
Look for branches that are brown, brittle, or hollow. Scratch the bark—if it’s dark and mushy, it’s dead. Remove these first to prevent disease spread.
-
Step 2: Remove Crossing or Rubbing Branches
Crossing branches compete for nutrients and can create entry points for pests. Cut one of the two branches at the base, using a 45-degree angle to encourage faster healing.
-
Step 3: Thin Out Overcrowded Areas
Focus on the center of the shrub to improve airflow and sunlight penetration. Remove up to 25% of the plant’s foliage to maintain its natural shape while encouraging new growth.
-
Step 4: Shape the Plant for Balance
Step back and visualize the ideal shape. Trim outer branches to create a rounded, bushy form. Avoid cutting into old wood—always prune just above a leaf node or bud.
-
Step 5: Sterilize Tools Between Cuts
Dip your pruners in rubbing alcohol after each cut to prevent bacterial spread. This is especially important for gardenias, which are susceptible to fungal infections.
-
Step 6: Clean Up and Mulch
Rake up and dispose of pruned branches away from your garden. Apply a 2-inch layer of mulch around the base to retain moisture and protect roots as temperatures rise.
When pruning, always cut at a 45-degree angle, about ¼ inch above a bud or leaf node. This angle helps redirect water away from the cut, reducing the risk of rot. If you’re dealing with thorny branches, wear heavy-duty gloves and use long-handled pruners for safety.
Never prune more than 30% of the plant at once, or you risk shocking your gardenia.
After pruning, your gardenia will need extra care to recover. Water deeply once a week and avoid fertilizing until new growth appears in early spring. This gives the plant time to establish roots and prepare for the blooming season.
With the right timing and technique, you’ll be rewarded with lush, fragrant blooms all summer long!
Pro tip: Take before-and-after photos of your pruned gardenia. Comparing the two will help you track progress and refine your technique for next year. Happy pruning!