
Fertilization
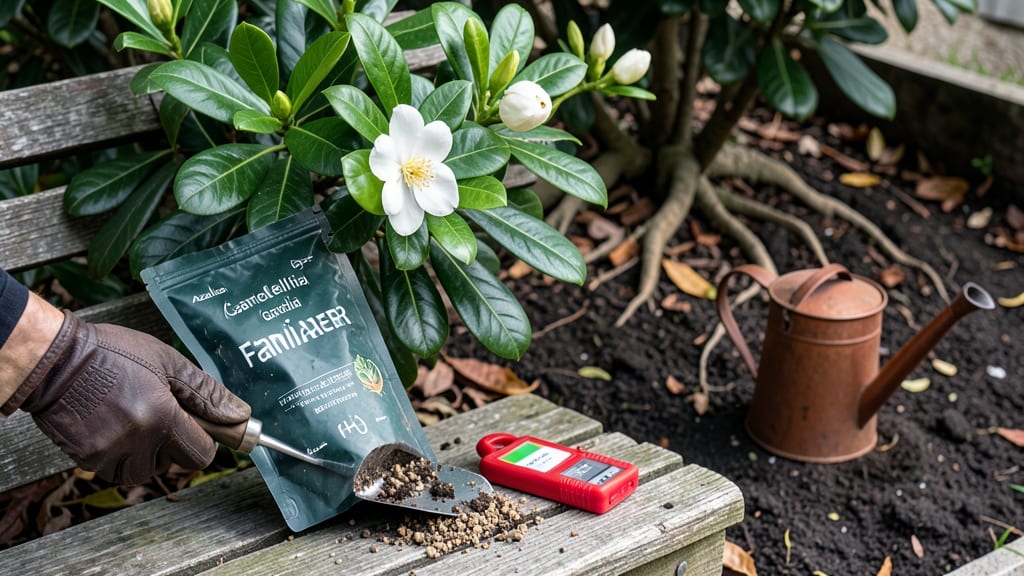
To keep your gardenias 🌸 thriving with fragrant blooms, you need acidic nitrogen fertilizer tailored for their exact soil needs — and most gardeners miss the mark with generic feeds.
Picture this: your gardenia leaves turn yellow, buds drop before opening, and that heavenly scent stays just out of reach. The problem? Your soil might be too alkaline, starving your plants of the nitrogen they crave in an acidic form.
This isn’t just about feeding—it’s about creating the right environment for their roots to thrive.
In this guide, I’ll walk you through why gardenias demand acidic nitrogen, how to pick the right fertilizer (like sulfur-coated urea or ammonium sulfate), and when to apply it for maximum impact.
You’ll also learn how to test your soil pH and troubleshoot common mistakes that keep your gardenias from reaching their full potential.
Whether you’re using organic options like fish emulsion or synthetic blends, these steps will help you nurture lush, fragrant gardenias that bloom like clockwork—no more guesswork, just results.
Why acid-loving gardenias need acidic nitrogen fertilizer (and how to choose the right type)
Your gardenias might be telling you they're hungry—not for just any fertilizer, but for acidic nitrogen that matches their natural soil preferences. These fragrant shrubs thrive in acidic soil (pH 5.0-6.0), and when they don’t get the right nutrients, their blooms become sparse or their leaves yellow.
The key? Understanding how nitrogen fuels growth while acidic conditions unlock its benefits.
Nitrogen is the building block for leafy green growth and flower production, but gardenias can’t access it efficiently in alkaline soil. Without the right acidic nitrogen fertilizer, your plants may show signs of deficiency like stunted growth or pale foliage.
The solution? Choosing a fertilizer that delivers nitrogen in an acid-friendly form, like ammonium sulfate or sulfur-coated urea.
Here’s the science: Gardenias absorb nitrogen most efficiently when it’s in the form of ammonium (NH₄⁺) rather than nitrate (NO₃⁻). Ammonium-based fertilizers not only provide nitrogen but also help lower soil pH over time, creating the ideal environment for these acid-loving plants.
Let’s break down your options so you can pick the best one for your gardenias.
| Fertilizer Type | Nitrogen Form | pH Effect | Best For | Application Notes |
|---|---|---|---|---|
| Ammonium Sulfate | Ammonium (NH₄⁺) | Lowers pH slightly | Established gardenias | Fast-acting; apply every 4-6 weeks |
| Sulfur-Coated Urea | Urea (converts to NH₄⁺) | Neutral to slightly acidic | Slow-release feeding | Granules release over 3-6 months |
| Fish Emulsion (Organic) | Ammonium + Nitrate | Mildly acidic | Organic gardens | Dilute weekly; high in microbes |
| Iron Sulfate | N/A (pH adjuster) | Lowers pH significantly | Severely alkaline soil | Use sparingly; test pH after |
If your gardenias are showing yellowing leaves or fewer blooms, it’s often a sign of nitrogen deficiency or high soil pH. Ammonium sulfate is a top choice because it provides immediate nitrogen while gently acidifying the soil.
For organic gardeners, fish emulsion is a great alternative—just dilute it to avoid burning roots.
One mistake many gardeners make is using urea-based fertilizers without considering their alkaline byproduct. When urea breaks down, it raises soil pH, which is the opposite of what gardenias need. Always opt for acidic nitrogen sources like those listed above to keep your plants thriving.
Pro tip: Pair your acidic nitrogen fertilizer with a soil pH test every spring. If your soil pH is above 6.0, you’ll need to adjust it with elemental sulfur or peat moss before applying fertilizer.
This two-step approach ensures your gardenias get both the nutrients and the acidic environment they crave.
For container gardenias, mix 1 tablespoon of ammonium sulfate into the top inch of soil every 6 weeks during the growing season. In-ground plants may need slightly more—up to 2 tablespoons per plant—depending on their size. Always water thoroughly after applying to help the fertilizer reach the roots.
Watch for signs your gardenias are thriving: dark green leaves, abundant blooms, and a sweet fragrance that fills your garden. If you’re still seeing yellow leaves or stunted growth after fertilizing, your soil pH might need a bigger adjustment. Test again in a few weeks to track progress.
Remember, gardenias reward patience. With the right acidic nitrogen fertilizer and consistent care, your shrubs will burst into vibrant blooms that perfume your garden all summer long. Happy growing!
Step-by-step guide: how to apply acidic nitrogen fertilizer for maximum gardenia blooms
Gardenias thrive when their soil pH stays between 5.0 and 6.0, and acidic nitrogen fertilizer is key to fueling those iconic white blooms. But timing and application matter just as much as the fertilizer itself.
Let’s break down the exact steps to nourish your gardenias without overdoing it—because too much nitrogen can burn roots and stunt flowering.
First, test your soil pH using a simple kit (available at garden centers). If it’s above 6.0, you’ll need to lower it before applying acidic fertilizer. Gardenias also prefer slow-release nitrogen over quick fixes, so choose fertilizers like ammonium sulfate or sulfur-coated urea for steady growth.
Organic options like fish emulsion or cottonseed meal work too!
🌱 Step-by-Step Application Guide
- Step 1: Choose the Right Time
- Apply early spring (March-April) to kickstart growth.
- Add a second feeding in late spring (May-June) for blooming.
- Avoid fertilizing in fall or winter—gardenias rest then!
- Step 2: Measure the Dosage
- Use 1 tablespoon per mature plant for synthetic fertilizers.
- For organic options (like coffee grounds), use ½ cup per plant mixed into topsoil.
- Never exceed 2 applications per season—more harms than helps!
- Step 3: Apply Correctly
- Scatter fertilizer 2-3 inches from the base (not touching stems).
- Gently work it into the top 2 inches of soil with a trowel.
- Water deeply afterward to activate nutrients.
- Step 4: DIY Acidic Boosters (Optional)
- Mix dried pine needles into soil (½ cup per plant) for slow acidity.
- Use used coffee grounds (composted first!) as a nitrogen source.
- Avoid vinegar or citrus peels—they can over-acidify soil.
- Step 5: Monitor and Adjust
- Check for yellowing leaves (too much nitrogen) or pale blooms (low nitrogen).
- Test soil pH annually—aim for 5.0-6.0.
- If blooms drop early, reduce nitrogen and increase phosphorus.
Pro tip: Mulch with pine bark after fertilizing to maintain soil acidity and retain moisture. This also suppresses weeds, giving your gardenias less competition for nutrients. Remember, gardenias reward patience—consistent care leads to heavier, more fragrant blooms year after year!
Over-fertilizing is a common mistake, so start with half the recommended dose if your gardenias are new to acidic soil. Watch for leaf burn (brown edges) or stunted growth, which signal too much nitrogen. Adjust your schedule accordingly—your gardenias will thank you with show-stopping blooms by summer!
🌸 For container gardenias, reduce the dosage by half since roots have less soil to absorb nutrients. Always water before fertilizing to prevent root damage, and avoid getting fertilizer on leaves—it can cause chemical burns.