
Tools
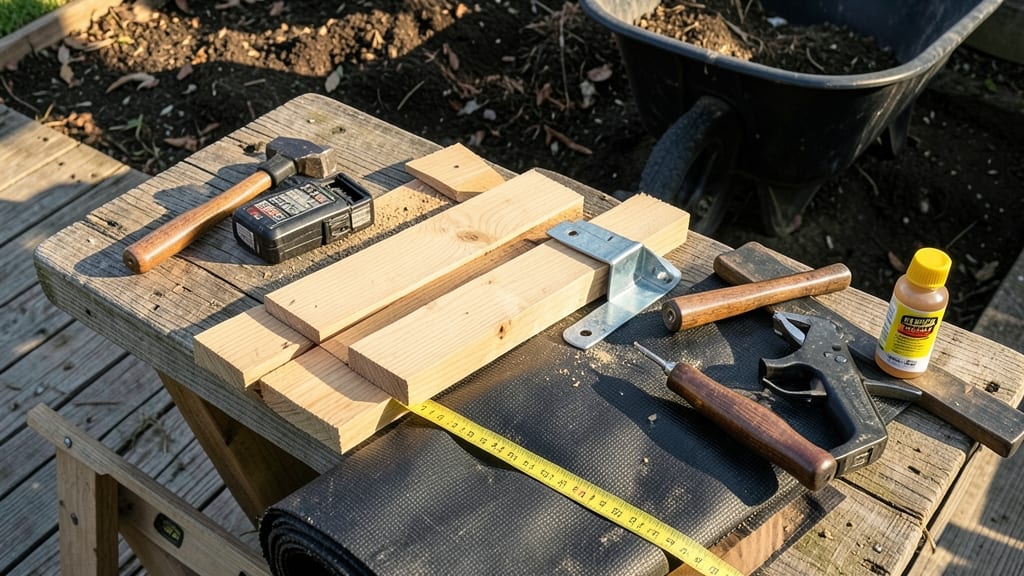
Planning a 2x4 raised garden bed lets you grow more in less space while keeping weeds and pests at bay—here’s the exact cut list and assembly guide to build one that lasts for years.
Picture this: a sturdy, 4x8-foot bed filled with your favorite 🌱 vegetables, built in a weekend without expensive tools. These free plans skip the guesswork, giving you precise measurements, cost-saving tips, and pro-level reinforcement so your bed stays square and doesn’t sag under heavy soil.
Whether you’re a first-time gardener or a seasoned DIYer, this project is beginner-friendly but built to handle Zone 6’s long growing season. We’ll cover everything from corner bracing to soil prep, so you can start planting by May without worrying about rot or uneven edges.
By the end, you’ll have a customizable bed that fits your space—whether you want a classic 12-inch height for root crops or a taller design for deeper greens. Let’s get started with the free cut list and step-by-step assembly.
Free 2x4 raised garden bed cut list for 4x8 feet with step-by-step dimensions
Building a 4x8-foot raised garden bed with 2x4 lumber is a fantastic project for beginners and experienced gardeners alike. This design offers 12 inches of height, perfect for root vegetables and improved drainage.
Below, I’ll break down the exact cut list and materials needed to ensure your bed is sturdy, long-lasting, and optimized for weight distribution.
Before you start cutting, gather your tools: a circular saw or miter saw, measuring tape, pencil, and safety gear (gloves, goggles). The key to a durable bed lies in precise cuts and proper assembly—every measurement matters!
This plan uses untreated lumber for affordability, but I’ll share tips for extending its lifespan later.
For the corner braces, cut the 36-inch diagonals at a 45-degree angle to ensure a snug fit. These braces are critical for preventing the bed from spreading over time.
If you’re unsure about the angle, use a speed square to mark your cuts accurately. Pro tip: Pre-drill 1/8-inch pilot holes in all lumber to avoid splitting when assembling.
You’ll also need 2.5-inch deck screws (80 total) and 3-inch exterior wood screws (40 for braces). Opt for galvanized or stainless steel screws to resist rust and corrosion. For extra durability, consider cedar lumber, which naturally resists rot and insects—ideal for long-term use.
If budget is a concern, untreated pine works but may need linseed oil treatment every 1-2 years.
This design assumes a 12-inch height, which is perfect for most vegetables like tomatoes, peppers, and carrots. For deeper-rooted plants like potatoes or squash, extend the height to 18-24 inches by adding another layer of 2x4s.
Always space your screws 16 inches apart for maximum strength, and avoid over-tightening to prevent wood from cracking.
One common mistake is skipping the middle supports, which can cause the bed to bow under soil weight. If you’re placing your bed on uneven ground, use gravel or pavers as a base to ensure level assembly.
This step is non-negotiable for longevity—trust me, your future self will thank you!
Finally, leave a 1-inch gap between the bed and any permanent structures (like fences or decks) to allow for air circulation and prevent moisture buildup. This small detail can double the lifespan of your lumber by reducing rot risk.
Once assembled, line the bottom with landscape fabric to block weeds while allowing drainage.
With these precise measurements and materials, your 4x8-foot raised bed will be ready for planting in no time. Next, we’ll walk through the assembly steps to bring your garden to life—stay tuned for pro tips on leveling and bracing! 🌱
How to assemble a 2x4 raised garden bed in 4 simple steps with pro tips
Assembling a 2x4 raised garden bed is easier than you think, and with the right approach, you'll avoid common pitfalls like uneven edges or warping lumber. Start by gathering your tools and materials, including a circular saw, drill, 3-inch deck screws, and corner braces.
These steps will guide you through a sturdy, wind-resistant build that lasts for years.
Before you begin, check that your 2x4 lumber is dry and straight—warped wood can throw off your entire project. Lay out the pieces in your chosen location to visualize the 4x8-foot bed.
Remember, a 12-inch height is ideal for most vegetables, offering easy access and excellent drainage while preventing soil compaction.
Cut 8 pieces of 2x4 lumber to 48 inches (4 feet) for the sides and 4 pieces to 96 inches (8 feet) for the long sides. Use a drill to pre-drill holes and attach the short ends to the long sides with 3-inch deck screws, creating a square frame.
Double-check for square corners using a tape measure (diagonals should be equal).
Cut 4 pieces of 2x4 lumber at a 45-degree angle (about 17 inches long) for corner braces. Attach one brace to each corner using 2.5-inch screws, reinforcing the structure. This prevents racking and adds wind resistance. For extra stability, add horizontal supports halfway up the sides.
Place the frame in your desired location and use a level to ensure it’s perfectly even on all sides. Adjust by adding or removing gravel or pavers underneath if needed.
Once leveled, secure the bed to the ground with stakes or screws to prevent shifting. For slopes, consider terraced layers or mobile bases.
Add bottom support slats (optional but recommended) to prevent soil from falling through and to deter pests. Space them 1-2 inches apart. Finally, fill the bed with a mix of topsoil, compost, and aged manure to create a nutrient-rich growing environment. Water thoroughly before planting.
Pro tip: If you're building in a windy area, consider adding cross-bracing between the long sides for extra stability. For longer beds, insert a center support post to prevent sagging over time. Once assembled, your raised garden bed will be ready for planting in just a few days!
After assembly, I recommend lining the inside with landscape fabric to block weeds and pests while allowing water to drain. This small step can save you hours of weeding later in the season.
For heavy clay soil areas, consider adding a 4-inch layer of gravel at the bottom to improve drainage.
Now that your bed is ready, you’re just steps away from growing a bountiful harvest of tomatoes, peppers, and herbs. Happy gardening! 🌱